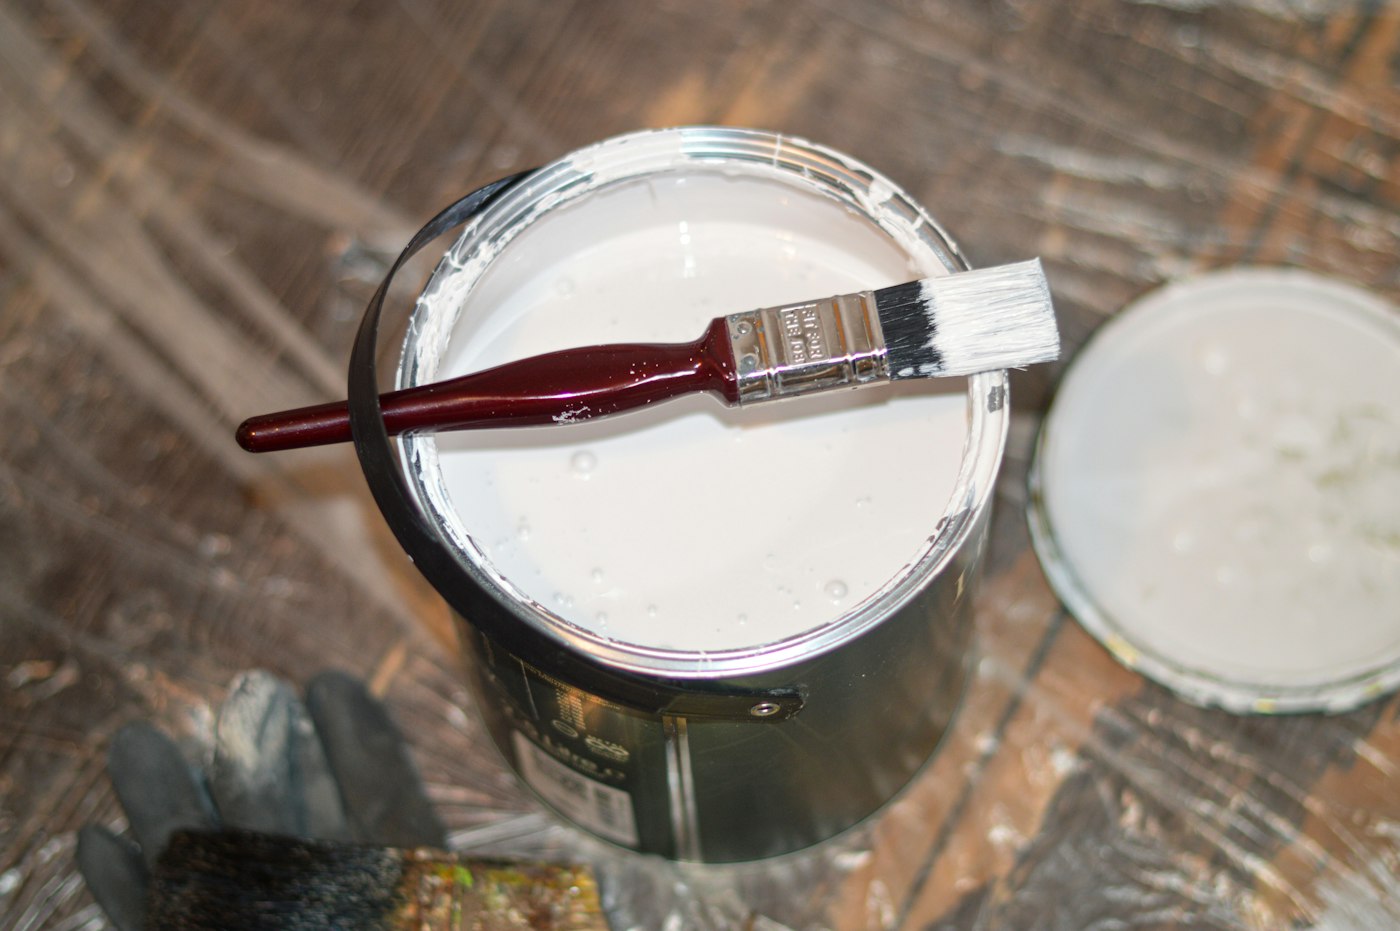
Painting cabinets is one of the most popular ways to transform a kitchen without replacing anything. It is also a job where the difference between a quick coat and a professional finish shows up fast, usually around the handles and on the edges of doors, where chipping begins. Whether you hire it out or take it on, understanding what a durable job involves helps you judge the work and set expectations.
Preparation Is Most of the Work
Kitchen cabinets collect cooking grease, hand oils and cleaning residue, and paint will not bond to any of it. A proper job begins with removing doors, drawer fronts and hardware, labeling everything so it goes back in the same spot, and cleaning every surface with a degreaser. Then comes sanding, not to strip the old finish but to dull it so the primer has something to grip. Dents and old hardware holes are filled, sanded smooth and cleaned again. On many projects, this stage takes longer than the painting itself.
The kitchen also has to be protected. Counters, floors, appliances and the openings of the cabinet boxes get masked, and dust control matters because dust that settles into wet paint becomes a permanent texture.
Primer Chooses the Outcome
The primer does two jobs: it bonds to the old surface and gives the topcoat a uniform base. Different surfaces call for different primers. Factory-finished and laminate cabinets need a bonding primer made for slick surfaces. Oak and other open-grained woods may need a grain filler if you want a smooth, grain-free look. Woods that tend to bleed tannins through light paint need a stain-blocking primer. Skipping or mismatching the primer is the most common reason painted cabinets fail.
Choosing and Applying the Paint
Cabinets live a harder life than walls. They get bumped, wiped, splashed and grabbed many times a day, so the topcoat has to cure hard and resist moisture. Paints made specifically for cabinets and trim, including waterborne enamels and alkyd hybrids, are formulated for this. Ordinary wall paint is not.
Application method affects the look. Spraying produces the smoothest, most factory-like finish and is what most professionals use for doors and drawer fronts. Brushing and rolling can look very good with the right tools and thin coats, though a faint texture is normal. Either way, two thin topcoats with light sanding between them beat one heavy coat.
- Doors are usually finished flat, one side at a time, to prevent runs.
- Edges and the areas around hardware get the most wear and deserve full coverage.
- Fresh paint can feel dry within hours but takes weeks to fully cure, so treat it gently at first.
What to Expect From the Finished Result
A well-executed paint job will not look identical to a factory finish, especially on wood with pronounced grain, but it should be smooth, even and free of drips, brush marks and dust bumps. Doors should close without sticking, which depends on paint not building up on the edges. Ask any painter you consider how they handle cleaning, priming and curing, and ask to see cabinets they finished a few years ago rather than last month. Longevity is the real test.
Painted cabinets can give a kitchen a whole new personality, from crisp white to deep green or soft gray. With careful preparation and the right materials, that personality lasts.
The Process From Start to Finish
When we describe a cabinet painting project to homeowners, it helps to lay out the full sequence so the time involved makes sense. Every kitchen is different, but a careful job generally follows these steps.
- Walk-through and color selection. Confirm the color, sheen and any changes, such as new hardware with different hole spacing. Test the color on a sample door or board in your kitchen light.
- Removal and labeling. Doors, drawer fronts, hinges and hardware come off, and every piece is labeled with its location.
- Masking and protection. Countertops, floors, walls, appliances and cabinet interiors are covered, and dust barriers are set up as needed.
- Cleaning and degreasing. Every surface is cleaned, with extra attention to areas near the range and around handles.
- Sanding and repairs. Surfaces are scuff-sanded, damage is repaired, and any holes being relocated are filled.
- Priming. The appropriate primer is applied and allowed to dry, then lightly sanded.
- Topcoats. Two or more thin coats are applied with sanding between coats as needed.
- Curing and reassembly. Doors and drawers are given time to dry before being handled, then reinstalled, adjusted and fitted with hardware.
Choosing a Color and Sheen That Will Last
Color
White and off-white remain popular, but they show smudges more readily near handles. Mid-tone grays, greens, blues and warm neutrals can be more forgiving in busy kitchens. Two-tone schemes, such as a darker island or lower cabinets with lighter uppers, are a way to add color while keeping the room bright.
Sheen
Satin and semi-gloss finishes are common choices for cabinets because they are easier to clean than flat finishes. Higher gloss levels look sleek but highlight every imperfection in the surface beneath. Lower sheens are more forgiving of minor flaws and grain.
Mistakes That Lead to Chipping and Peeling
- Painting over grease. Even a thin film of cooking residue can prevent bonding.
- Skipping sanding on glossy finishes. Paint needs a scuffed surface to grip.
- Using the wrong primer for laminate, factory finishes or tannin-rich wood.
- Applying thick coats. Heavy coats drip, sag and take longer to cure.
- Reinstalling too soon. Doors stacked or hung before they are ready can stick, dent or peel.
- Forgetting the backs and edges. Uncoated edges and door backs are where wear and moisture begin.
Caring for Newly Painted Cabinets
For the first few weeks, treat painted cabinets gently while the finish continues to cure. Avoid scrubbing, harsh cleaners and stick-on bumpers until the paint has had time to harden. After that, wipe with a soft cloth and mild soap, dry spills promptly and keep a small container of the matching paint for touch-ups. Adding bumpers to doors and drawers after the cure period reduces wear where they close.
Cabinet Painting Questions We Hear
Can I paint the inside of my cabinets too?
Yes, though many homeowners leave interiors in their existing finish to save time. Painting interiors requires the same preparation and a longer cure before dishes and food go back in.
Will the wood grain show through the paint?
On open-grained woods like oak, the grain texture will usually show through unless a grain filler is used. Some people like that texture; others prefer a smooth look.
How long will the kitchen be out of commission?
It depends on the size of the kitchen and the products used. Planning for some disruption while doors are off and paint cures helps set realistic expectations. Your painter should be able to explain the schedule in advance.