
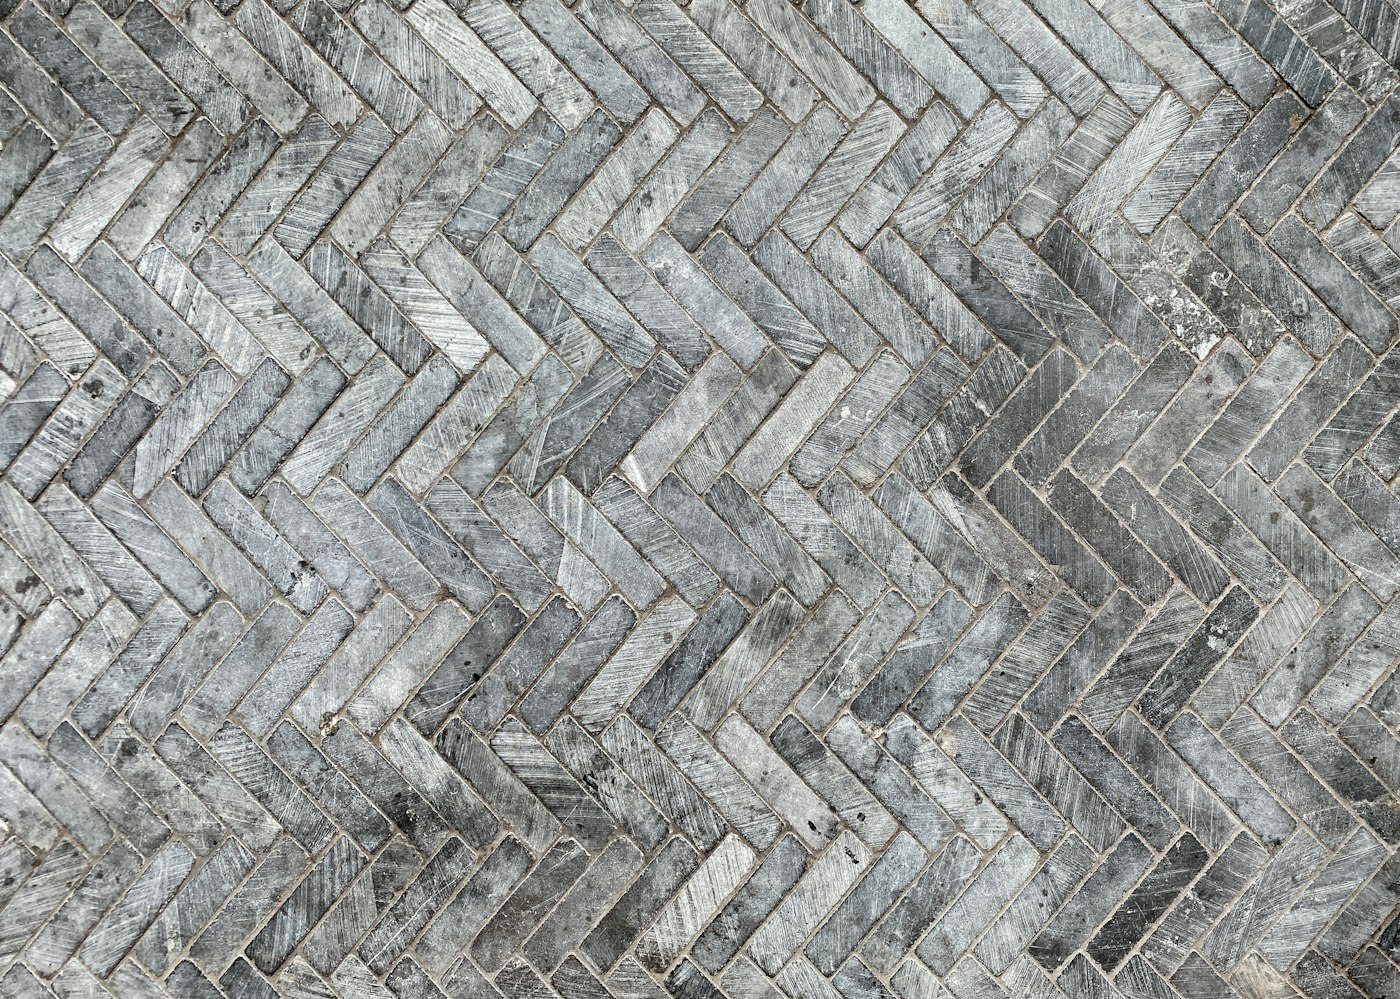
Homeowners spend weeks choosing a tile and seconds choosing how to lay it, yet the layout often has a bigger effect on the finished room than the tile’s color. A rectangular tile set in a straight stack looks modern. The same tile in a herringbone looks tailored and traditional. Understanding the common patterns helps you make this decision on purpose.
Straight Set, or Stacked
Tiles align in a simple grid, with every joint lining up. On square tile this is the most classic layout; on rectangles it produces a crisp, contemporary look, especially when the tile is stacked vertically to draw the eye up. Because every line is visible, this pattern demands precise installation and a flat wall or floor. Slight irregularities in handmade tile become part of the charm here.
Running Bond, or Offset
Each row shifts by half a tile, like brickwork. This is the familiar subway tile layout and the most forgiving pattern, since the offset hides minor size variation. A one-third offset, where rows shift a third of a tile, is a subtle variation that many manufacturers recommend for long tiles, because it reduces the appearance of lippage that can occur when the slightly bowed centers of long tiles meet the ends of their neighbors.
Herringbone and Chevron
Herringbone sets rectangular tiles at right angles to each other in a zigzag, each tile’s end meeting the side of the next. It adds movement and a sense of craft, and it works on floors, backsplashes and shower walls. Laid at a forty-five-degree angle it reads traditional; laid straight, with the zigzag running up or across, it feels more modern. Chevron is related but uses tiles with angled ends that meet point to point, creating a continuous V. Both patterns involve more cuts and waste than a straight layout, so they take longer to install.
Basketweave, Pinwheel, Diagonal and Other Classics
Basketweave pairs rectangular tiles in alternating horizontal and vertical sets, mimicking woven fabric, and is a hallmark of early twentieth-century bathrooms. Pinwheel, also called hopscotch, surrounds a small square tile with larger rectangles that rotate around it. Windmill and Versailles patterns combine several sizes for a more irregular, old-world look often used with stone. Hexagons and penny rounds are not patterns so much as shapes, but they carry a strong period feel and are easy to combine with a solid border or a contrasting color.
Rotating a square tile forty-five degrees makes a small floor feel wider and hides walls that are slightly out of square. Large-format tiles are usually laid straight or with a small offset and benefit from narrow grout lines that let the tile read as a continuous surface.
Choosing a Pattern
- Busy tile wants a simple layout; plain tile can carry a complex one.
- Complex patterns cost more to install and need a precise layout plan.
- Grout color changes everything: matching grout softens a pattern, contrasting grout emphasizes it.
- Use a bold pattern in a small area, such as a niche or a stove backsplash, to add interest without overwhelming the room.
Ask your installer to dry-lay a section before setting it. Seeing the pattern on the floor, with its cuts and centerlines, is the surest way to know you will be happy with it for years.
Planning a Pattern Step by Step
A tile pattern looks effortless when it is finished, but it starts with careful planning. Here is the process we follow.
- Choose the tile and pattern together. Some patterns require specific tile proportions. Herringbone, for example, typically works best with rectangular tiles whose length is a multiple of their width.
- Measure the space accurately, including doorways, fixtures, niches and outside corners.
- Find the centerlines. Decide whether the pattern should center on the room, the vanity, a window or the range.
- Plan the cuts. Work out where partial tiles will land and adjust the starting point to avoid slivers at visible edges.
- Calculate waste. Complex patterns require more cuts and extra tile. Order enough to cover waste and keep a few spares for future repairs.
- Dry-lay a section to confirm the pattern and grout spacing before setting tile permanently.
Matching Patterns to Rooms
Kitchen Backsplashes
A running bond or stacked layout keeps a backsplash calm behind busy countertops. A herringbone or chevron above the range can create a focal point without covering the entire wall.
Bathroom Floors
Basketweave, hexagon and penny round patterns bring vintage character, while large tiles in a straight or offset layout create a calm, contemporary feel. Smaller patterns provide more grout lines for traction.
Shower Walls
Vertical stacks emphasize height, while horizontal running bonds can make a narrow shower feel wider. A patterned niche or feature wall adds interest.
Entries and Mudrooms
Diagonal layouts and patterned tiles can make an entry feel welcoming and help disguise everyday dirt.
Common Pattern Mistakes
- Not considering the room’s lines. A pattern that fights the walls, cabinets or windows can look crooked even if it is installed perfectly.
- Using a complex pattern with a busy tile. Strong veining or color variation can make a herringbone look chaotic.
- Running a pattern into an awkward transition. Plan how a pattern will end at doorways and where it meets other flooring.
- Choosing grout without testing. A contrasting grout can make a pattern striking or overwhelming, depending on the tile.
- Ordering too little tile. Running out mid-project can lead to color mismatches between batches.
Tile Pattern Questions We Hear
Does a herringbone floor make a room look smaller?
Not necessarily. A herringbone running the length of a room can draw the eye forward and make the space feel longer.
Can I use more than one pattern in a room?
Yes, with restraint. A simple floor pattern paired with a patterned feature wall or niche can work well. Using several complex patterns at once usually feels busy.
Are some patterns harder to keep clean?
Patterns with many small tiles have more grout lines to clean. Choosing a stain-resistant grout or a slightly darker grout color can help.
Why does pattern choice affect installation time?
Patterns that require more cuts, careful alignment and layout planning take longer to install than straight layouts. Your installer can explain how a chosen pattern affects the schedule.
Should the floor pattern continue into the shower?
It can, especially in a curbless shower, where a continuous floor makes a small bathroom feel larger. Keep in mind that the shower floor must slope to the drain, which may require smaller tiles or a linear drain to keep the pattern looking clean.


