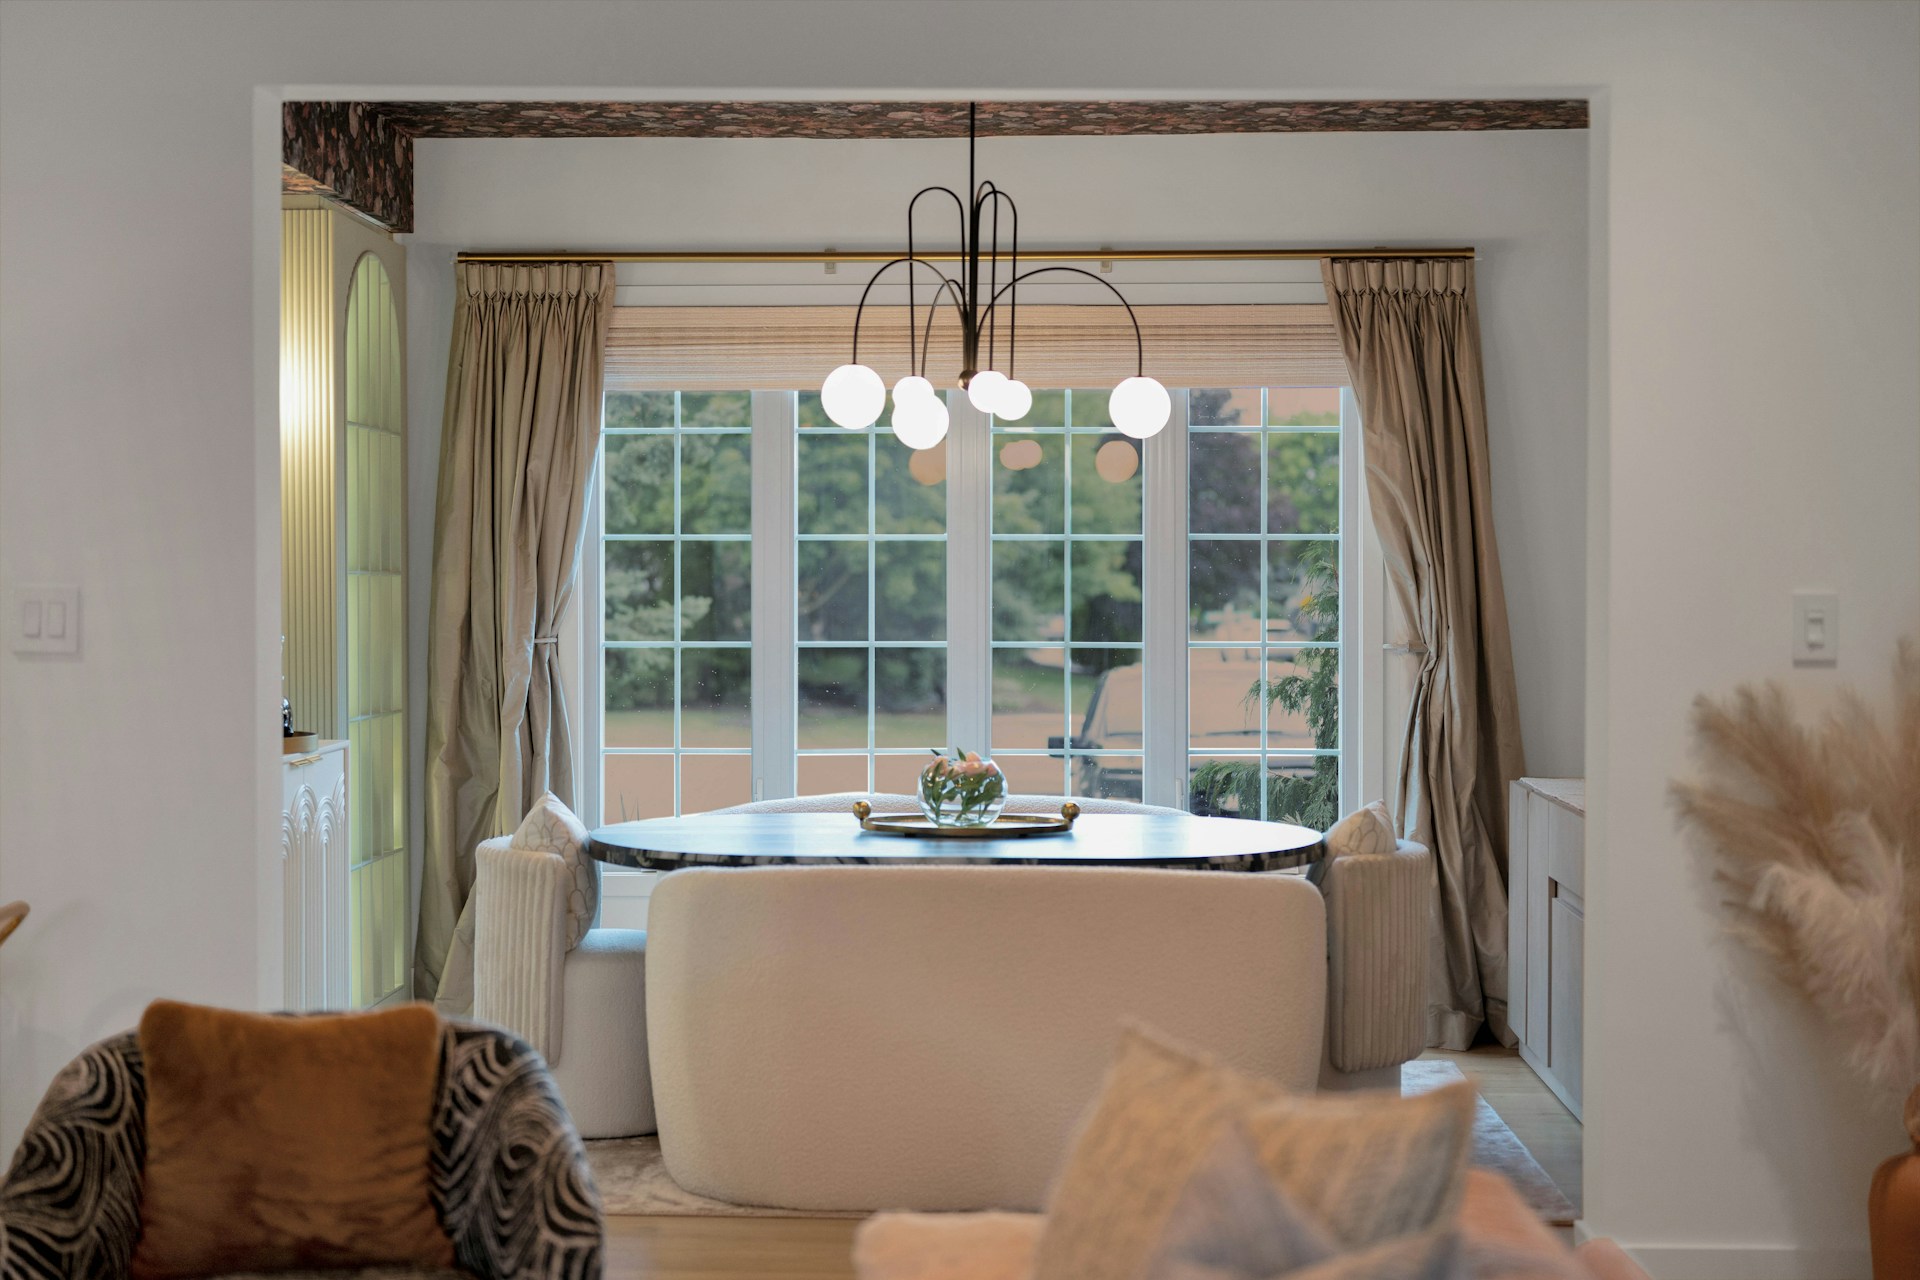
Many remodeling wish lists run into the same wall, literally. The kitchen needs just a little more room for an island, the bathroom needs a few more feet for a separate shower, or the bedroom needs space for a window seat. A full addition can feel like far more than the problem requires. A bump-out, a small extension of one wall outward, can deliver the missing space with less disruption.
What a bump-out is
A bump-out extends part of an exterior wall a modest distance beyond the original footprint. Depending on the design, it may be supported by floor framing that cantilevers past the foundation, by small footings or piers, or by a short extension of the foundation itself. It gets its own small roof, or tucks under an existing overhang, and is finished to match the house.
Because it is small, a bump-out usually involves less excavation, less roof work and less upheaval inside than a full addition. It still requires careful design and, in nearly all cases, a permit.
Where a little space goes a long way
- Kitchens: room for an island, a breakfast nook, a pantry wall or a sink beneath a bank of windows.
- Bathrooms: space for a larger shower, a freestanding tub or a second sink.
- Bedrooms: a window seat, a reading nook or a walk-in closet.
- Mudrooms and entries: a bench, lockers and coat storage by the back door.
- Living rooms: a bay of windows that brings in light and views.
Bump-outs are often generously glazed, adding daylight along with floor area, which makes rooms feel larger than the added space alone would suggest.
Structural and planning questions
How far a bump-out can extend, and how it must be supported, depends on the existing framing, the loads above it and local code requirements. Cantilevered designs work only within certain limits, and deeper extensions generally need footings. A contractor or engineer will determine the right approach.
Zoning rules apply, too. Most lots have setback requirements that limit how close construction can come to property lines, and some areas limit how much of a lot can be covered. Check with your local zoning office before falling in love with a plan.
The roof connection needs careful flashing where the new roof meets the existing wall. Heating and cooling must reach the new space, and plumbing in a new exterior wall needs protection from freezing in cold climates.
Limits and alternatives
A bump-out is not always the best answer. Sometimes rearranging the existing space, removing a nonstructural wall or borrowing room from a closet achieves the same goal with less work. And when the need is truly a new room, a proper addition may make more sense than a series of small extensions.
Timing a bump-out
Because a bump-out involves foundation and exterior work, it benefits from good weather, and it often shares a schedule with the interior remodel it serves. Planning in summer leaves time for design, engineering and permits, so construction can begin before the weather turns. A few feet, carefully placed, can be exactly what a room needs to finally work.
Is a Bump-Out Right for Your Room? A Quick Test
Before investing in design, a few questions help show whether a bump-out is the right tool.
- Is the shortfall small and specific? If you need a couple of feet for an island or a shower, a bump-out may be perfect. If you need a new bedroom, an addition is more likely.
- Is the wall on the right side of the house? Consider setbacks, views, sun, the location of utilities and what is outside the wall, such as a driveway, a patio or a neighbor’s yard.
- What is above the wall? A first-floor wall under a second story is different from one under a simple roof. The roofline affects how the new roof will tie in.
- What is inside the wall? Windows, plumbing, ductwork and electrical service all influence cost and design.
- Could rearranging solve it? Ask a designer to look at the existing layout before committing to new construction.
How a Bump-Out Project Unfolds
- Design and measurement. The existing room and wall are measured, and the new space is designed to work with the interior layout and the exterior appearance.
- Engineering and permits. Structural details are worked out, and plans are submitted for zoning and building review.
- Site preparation. Plantings, walkways and utilities near the wall are protected or moved.
- Foundation or support. Footings, piers or foundation extensions are built, or cantilevered framing is prepared.
- Framing and roof. The floor, walls and roof of the bump-out are framed and the roof is tied into the house with careful flashing.
- Opening the wall. Often done after the new structure is weathertight, so the house stays protected as long as possible.
- Systems and finishes. Wiring, plumbing, heating and cooling, insulation and interior finishes follow, along with siding and trim outside.
Design Details That Make a Bump-Out Look Original
- Match the materials. Siding, trim, roofing and windows that match or complement the house help the bump-out blend in.
- Respect the roofline. A roof that echoes the pitch and style of the main house looks intentional.
- Align windows. Window heights and styles that line up with existing windows keep the facade orderly.
- Consider the foundation finish. Exposed framing beneath a cantilever can be skirted or finished to match the foundation.
- Plan the landscaping. New plantings around the bump-out help it settle visually into the yard.
Common Mistakes
- Making it too shallow to matter. A bump-out that adds too little space can cost much of the effort of a larger one without solving the problem.
- Ignoring insulation. Cantilevered floors and new walls must be insulated and air sealed, or the space will feel colder or hotter than the rest of the room.
- Skipping roof flashing details. The joint between the new roof and the existing wall is a common leak point.
- Forgetting heating and cooling. A glassy bump-out without proper air supply can become the least comfortable part of the room.
Questions Homeowners Ask
Can a bump-out be added to a second floor?
It can, with careful structural design. Supporting a second-floor bump-out may involve brackets, posts or framing that extends from the floor below.
Does a bump-out need its own foundation?
Not always. Some are cantilevered on extended floor framing, within limits. Others require footings or a foundation extension, depending on size and load.
How long does a bump-out take?
It depends on the size, design and permitting. Ask your contractor for a timeline once the design and engineering are complete.