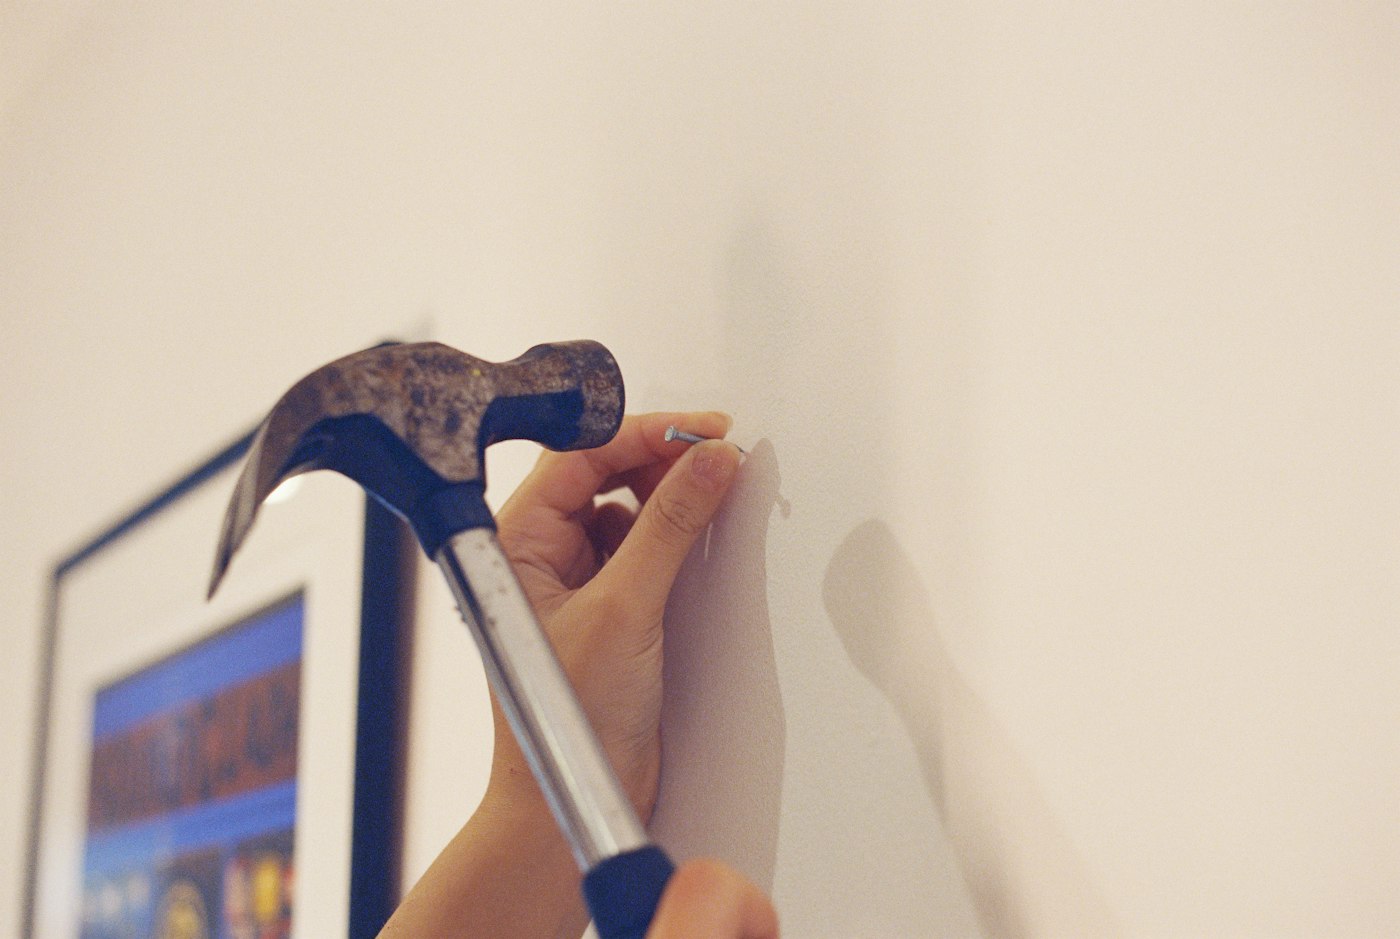
Nail pops: reset with a screw and patch. Small holes: patch and compound. Large holes: a new piece taped and finished. Prime before painting. That’s the whole drywall repair playbook in four lines, and it covers nearly every kind of wall damage you’ll find in a typical home. The details make the difference between a patch that disappears and one that shows every time the light hits it. This guide walks through each type of repair step by step, the tools you’ll need and the mistakes that leave patches visible.
Tools and Materials
For most drywall repairs, you’ll want:
- A drill or screwdriver and drywall screws
- Joint compound, either premixed or a lightweight spackle for small repairs
- Putty knives or drywall knives in a few widths, such as a narrow one for filling and wider ones for feathering
- Self-adhesive mesh patches for medium holes
- Drywall tape, paper or mesh
- Scrap drywall that matches your wall’s thickness, for large holes
- A utility knife and a drywall saw
- Sanding sponges or fine-grit sandpaper
- Primer and paint that match the wall
- A drop cloth and a damp sponge for cleanup
Nail Pops
A nail pop is a small round bump or crack in the wall, usually in a line with others, where a drywall nail has pushed out from the stud. They’re common as framing lumber dries and shifts over time, and with seasonal changes in humidity. They’re mostly cosmetic, but they’ll keep coming back unless the drywall is secured properly.
How to fix a nail pop
- Reset with a screw. Drive a drywall screw into the stud an inch or two above or below the popped nail. Press the drywall firmly against the stud as you drive it. The screw head should sit just below the surface without tearing the paper.
- Deal with the nail. Either drive the old nail back in below the surface or pull it out, then fill the hole.
- Patch. Scrape away loose compound and paint around the area. Apply a thin coat of compound over the nail and the screw head, let it dry, then apply another thin coat slightly wider than the first.
- Sand lightly, prime and paint.
Dents and Small Holes
Doorknob dings, furniture dents, anchor holes and nail holes from old picture hangers are the most common drywall repairs. These are handled with patch and compound.
How to fix dents and small holes
- Prepare the area. Trim any torn paper or loose bits around the edges with a utility knife so they don’t bubble up under the compound. Lightly sand any raised edges.
- Fill. Press compound or spackle into the hole with a putty knife, then scrape across it so it’s nearly flush with the wall.
- Let it dry, then apply a second thin coat if the compound has shrunk or left a dip.
- Feather the edges. Spread the final coat slightly beyond the repair and thin it toward the edges so it blends into the wall.
- Sand smooth, prime and paint.
For holes up to a few inches across, a self-adhesive mesh patch placed over the hole and covered with a few thin coats of compound provides the backing the compound needs.
Large Holes
Holes from a doorknob that went through the wall, plumbing or electrical access, or water damage need more than compound. They require a new piece taped and finished.
How to fix a large hole
- Check behind the wall. Before cutting, make sure there are no wires, pipes or ducts in the way. Turn off power to nearby outlets if you’re unsure.
- Square up the hole. Use a drywall saw to cut the damaged area into a neat square or rectangle.
- Add backing. If the hole isn’t next to a stud, screw strips of wood inside the opening at the top and bottom or sides so the new piece has something to attach to.
- Cut and install the new piece. Cut drywall of the same thickness to fit the opening and screw it into the backing or studs.
- Tape the seams. Apply compound along the seams, embed drywall tape, then smooth it flat with a knife.
- Finish in layers. Apply two or three thin coats, each wider than the last, letting each dry fully. Feather the edges well beyond the patch.
- Sand, prime and paint.
Prime Before Painting
This step is easy to skip, and skipping it is one of the main reasons patches show through. Joint compound is far more porous than painted drywall. If you paint directly over it, the compound absorbs paint differently, leaving a dull spot or a visible halo known as flashing. A coat of primer seals the patch so the topcoat looks uniform. Even with primer, painting the whole wall section from corner to corner often blends better than touching up just the patch.
Matching texture
Many walls aren’t perfectly smooth. Orange peel, knockdown and other textures add character but make patches harder to hide. Spray texture products are available for small areas, and practicing on a scrap piece first helps you match the pattern. For larger repairs or ceilings, texture matching is a skill where professional experience shows.
Common Mistakes
- Applying compound too thick. Thick coats crack, shrink and take forever to dry. Several thin coats always beat one heavy one.
- Not feathering the edges. A patch with a hard edge shows up under any light.
- Over-sanding. Sanding through to the paper of the surrounding drywall creates fuzzy spots that are hard to paint.
- Skipping primer. Patches show through the paint.
- Ignoring the cause. If damage keeps happening in the same place, add a door stop. If drywall is water-damaged, find and fix the leak first.
When to call a professional
Small repairs are great do-it-yourself projects. Consider professional help when holes are large or numerous, ceilings are involved, textures need matching, there are signs of water damage or mold, or you’d simply rather have the wall look perfect without spending several weekends on it.
What to Do This Week
- Walk each room in good daylight and note nail pops, dents and holes.
- Gather compound, knives, sandpaper, screws and primer.
- Start with small repairs to build your skills.
- Prime every patch before painting.
- Add door stops where knobs have damaged walls.
AX Home Pro handles repairs, improvements and maintenance for homeowners. Request an estimate to get started.