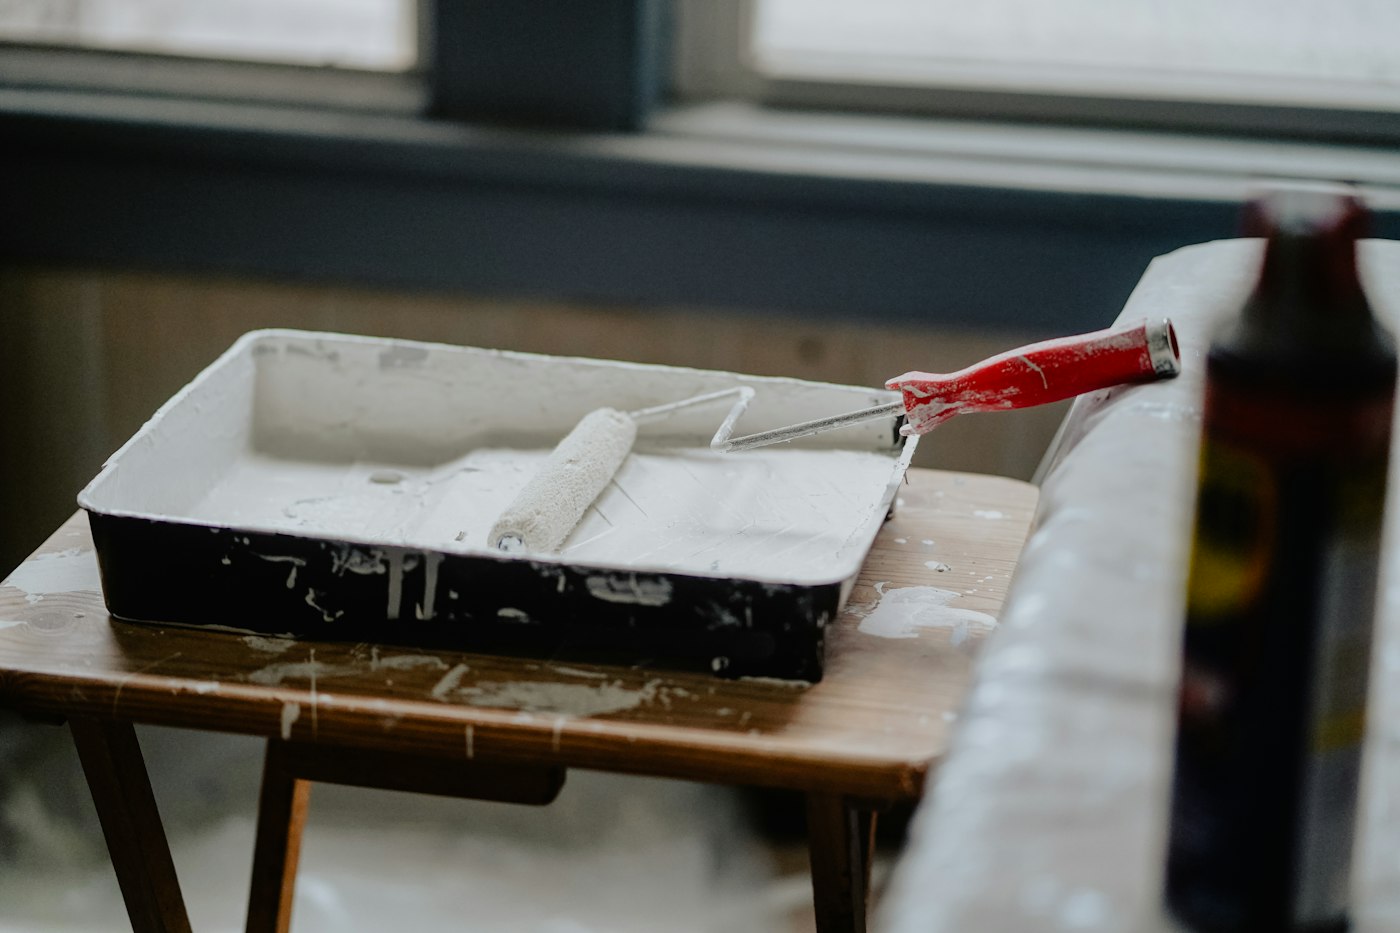
Fill holes, sand, clean walls, tape carefully, prime stains. Paint is the easy part. Anyone who has painted a room knows the moment of truth: the first coat goes on, the light hits the wall, and every nail hole, crack, scuff and patch suddenly shows. The quality of a paint job is decided long before the roller touches the wall. Professional painters often spend more time on preparation than on painting itself, and that’s why their work looks crisp and lasts. This guide walks through each prep step, in order, so your next room looks its best.
Step One: Clear and Protect the Room
Before any repairs, give yourself room to work.
- Move furniture to the center of the room and cover it with plastic or drop cloths.
- Remove wall decor, nails you don’t plan to reuse and window treatments.
- Take off outlet covers and switch plates, and put the screws in a labeled bag.
- Cover floors with canvas drop cloths, which are less slippery than plastic.
- Make sure you have good lighting; a work light aimed along the wall shows imperfections clearly.
Step Two: Fill Holes
Walk the room with a pencil and lightly circle every nail hole, dent, crack and gouge. Then repair them:
- Nail holes and small dents: Press lightweight spackle or joint compound in with a putty knife, scraping it flush with the wall.
- Larger holes: Use a mesh patch or a drywall patch, covered with thin coats of compound, feathered at the edges.
- Nail pops: Secure the drywall with a screw into the stud nearby, then fill.
- Cracks at corners and trim: Use paintable caulk for gaps where trim meets the wall, and compound for drywall cracks.
Compound shrinks as it dries, so deeper repairs often need a second thin coat. Let each coat dry fully.
Step three: sand
Sanding does two jobs: it smooths patches flush with the wall, and it scuffs glossy surfaces so new paint bonds well.
- Use a fine-grit sanding sponge or paper on patches, sanding just until they’re smooth and level with the surrounding wall.
- Lightly scuff glossy paint, especially on trim and doors, so new paint has something to grip.
- Run your hand over repairs; you’ll often feel bumps you can’t see.
- Don’t over-sand and fuzz up the drywall paper.
If your home was built before 1978, paint may contain lead. Sanding lead paint creates hazardous dust. Test before sanding, and if lead is present, use lead-safe practices or hire a certified professional.
Step Four: Clean Walls
Paint doesn’t stick well to dust, grease or grime. Clean walls are especially important in kitchens, bathrooms, hallways and kids’ rooms, where hands, cooking residue and moisture leave films you may not notice.
- Vacuum or wipe off sanding dust, starting at the top of the wall.
- Wash walls with a mild cleaner and water, or a cleaner made for pre-paint prep, following its directions.
- Rinse if the cleaner requires it, so no residue is left behind.
- Let walls dry completely before taping or priming.
Don’t forget the tops of baseboards and door trim, which collect a surprising amount of dust.
Step Five: Tape Carefully
Painter’s tape gives you clean lines along trim, ceilings and other edges, but only if it’s applied well.
- Use a quality painter’s tape suited to the surface; delicate-surface tapes are available for freshly painted or fragile areas.
- Apply in manageable lengths, keeping the edge straight.
- Press the edge down firmly with a putty knife or a fingernail so paint can’t bleed under it.
- Remove tape at the angle and timing the manufacturer recommends, often while the final coat is still slightly wet or once it’s just dry, pulling slowly at an angle.
Experienced painters often “cut in” edges with a brush freehand, but for most homeowners, tape is a worthwhile safeguard.
Step Six: Prime Stains and Patches
Primer is the bridge between preparation and paint. It’s essential in several situations:
- Patches: Joint compound absorbs paint differently than painted walls. Priming patches prevents dull spots called flashing.
- Stains: Water stains, smoke, crayon, marker and some wood knots can bleed right through paint. A stain-blocking primer seals them in.
- Big color changes: Priming can reduce the number of coats needed when going from dark to light, or the reverse.
- Bare drywall or new surfaces: These need primer to seal and even out absorption.
- Glossy surfaces: A bonding primer helps new paint adhere.
Important: a water stain means water got there at some point. Make sure the leak is fixed before priming and painting, or the stain will come back.
Paint Is the Easy Part
Once the prep is done, painting goes quickly. A few final tips:
- Work from top to bottom: ceiling, then walls, then trim.
- Cut in edges with a brush, then roll the wall while the edges are still wet to avoid visible lines.
- Keep a wet edge and roll in sections from top to bottom.
- Two coats almost always look better than one.
- Ventilate the room and follow drying times between coats.
Common mistakes
- Skipping cleaning and painting over grease or dust
- Painting patches without priming
- Rushing compound or primer before it’s dry
- Loading too much paint on the roller, causing drips and texture
- Painting over a water stain without fixing the cause
What to Do This Week
- Pick one room and walk it with a pencil and a work light, marking every flaw.
- Gather compound, sanding sponges, cleaner, tape and a stain-blocking primer.
- Do all the prep before opening a single can of paint.
If you’d like the room done for you, or there’s drywall damage to repair first, we’re glad to help. AX Home Pro handles repairs, improvements and maintenance for homeowners. Request an estimate to get started.