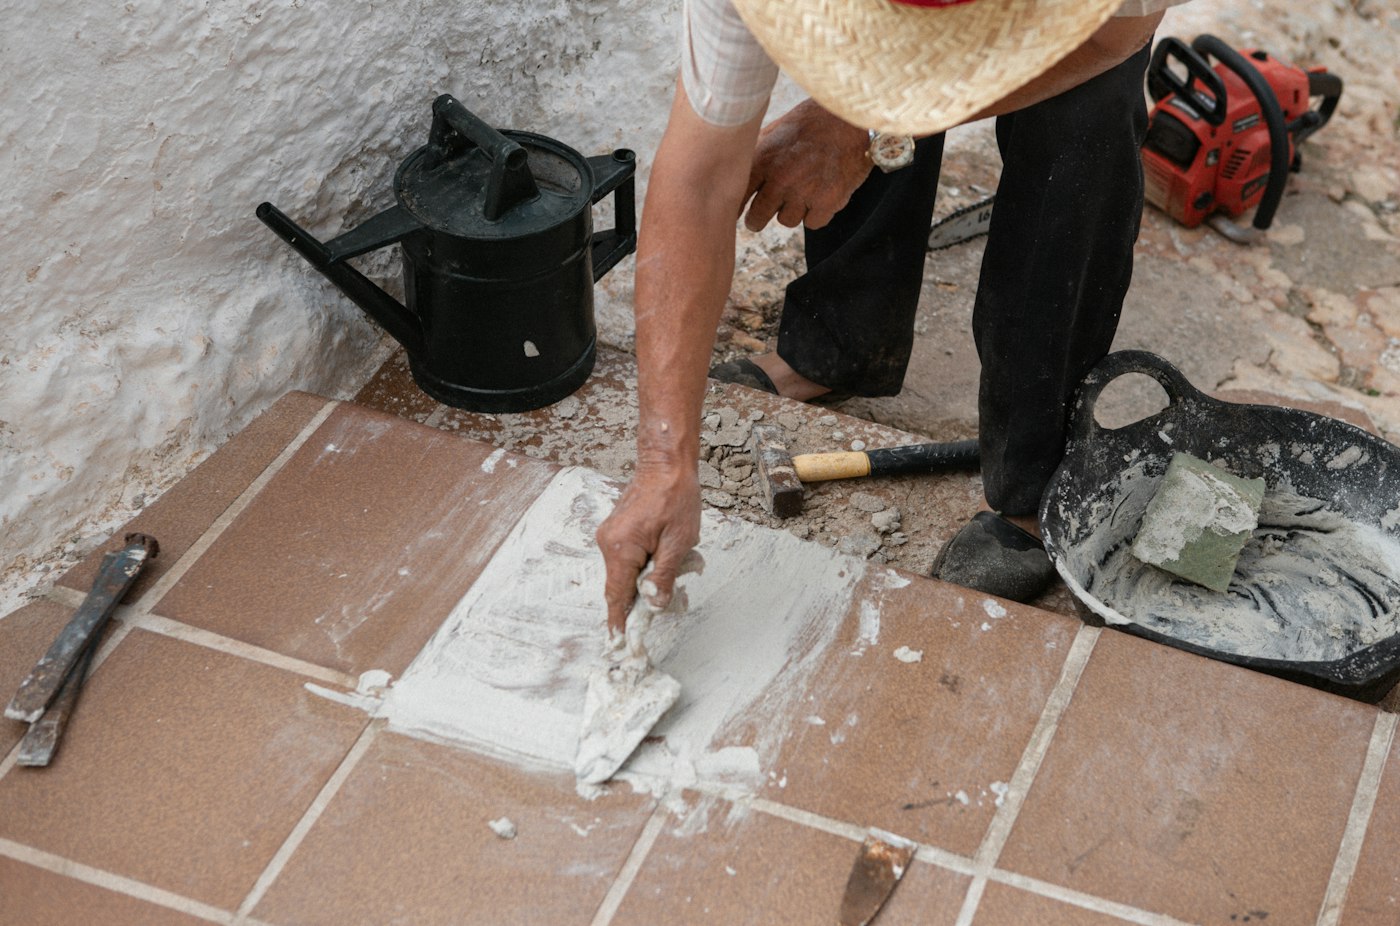
Remove failing grout, regrout, let cure and seal. Clean and reseal annually in wet areas. Grout is the part of a tile installation people tend to notice only when it goes wrong: it darkens, cracks, crumbles or starts growing mildew that won’t scrub out. But grout does important work. It locks tiles in place, keeps debris out of the joints and, especially in showers and around tubs, helps keep water from reaching what’s behind the tile. Repairing and sealing grout is a practical project that can make a tired bathroom or kitchen look dramatically better and protect it for years.
Signs Your Grout Needs Attention
- Cracks in grout lines
- Grout that crumbles, powders or has fallen out
- Gaps between grout and tile
- Dark staining or mildew that doesn’t come out with cleaning
- Grout that stays dark long after a shower, a sign it’s absorbing water
- Loose or hollow-sounding tiles
Pay close attention to the last item. Loose tiles, soft spots in a shower wall or floor, or tiles that move when pressed can mean water has already gotten behind the tile. In that case, regrouting alone won’t fix the problem, and the area underneath may need repair.
Grout vs. caulk
Grout is rigid, which makes it great for the joints between tiles but a poor choice where two surfaces meet at an angle or where different materials meet, such as inside corners of a shower, the joint where tile meets a tub, or along countertops. Those joints move, and rigid grout cracks there. They’re generally best sealed with a flexible caulk, typically silicone in wet areas. If grout keeps cracking in a corner, that’s often why.
Step One: Remove Failing Grout
You don’t always have to remove all the grout in a room. Focus on joints that are cracked, crumbling, missing or permanently stained.
- Choose your tool. A manual grout saw or carbide grout removal tool works for small areas. For larger areas, an oscillating tool with a grout blade speeds things up, but take care to avoid chipping tile edges.
- Work carefully along the joint, removing grout to a consistent depth. Many guides suggest removing at least a good portion of the joint’s depth so the new grout has enough material to bond and hold.
- Protect the tile. Go slowly near edges. Painter’s tape on glossy tiles can help prevent scratches.
- Clean out the joints thoroughly. Vacuum dust and debris, then wipe with a damp sponge. Let joints dry.
Step Two: Regrout
Choose the right grout
- Sanded grout is generally used for wider joints.
- Unsanded grout is generally used for narrow joints and for tile surfaces that could scratch.
- Epoxy and other high-performance grouts resist stains and moisture very well, but they work differently and set faster, so follow the manufacturer’s directions carefully.
Matching the color of existing grout can be tricky. Grout often looks different wet than dry, and older grout may have darkened. Test a small area if you’re doing a partial repair.
Apply the grout
- Mix the grout according to the package directions. Mix only what you can use within its working time.
- Use a rubber grout float held at an angle to press grout firmly into the joints, working diagonally across the tile.
- Remove excess by sweeping the float diagonally across the tiles.
- After the time the manufacturer specifies, wipe the tile surface with a damp, well-wrung sponge, again working diagonally, to smooth joints and remove residue. Rinse the sponge often.
- Once the grout has firmed up, buff off the light haze left on the tile with a clean, dry cloth.
Step Three: Let It Cure, Then Seal
New grout needs time to cure before it’s exposed to water and before it’s sealed. Cure times vary by product, so follow the package directions. Using a shower too soon can wash out or weaken fresh grout.
Why sealing matters
Standard cement-based grout is porous. It absorbs water, soap residue, oils and dirt, which leads to staining and mildew. A penetrating grout sealer soaks into the grout and helps it resist water and stains. Some grouts, such as many epoxy grouts, don’t require sealing. Check the label.
How to seal
- Make sure the grout is fully cured, clean and dry.
- Apply sealer to grout lines with a small brush or an applicator bottle, following the directions.
- Wipe sealer off tile surfaces promptly if the product calls for it, to prevent haze.
- Apply a second coat if recommended.
- Allow the sealer to cure before using the area.
A simple test: put a few drops of water on the grout. If it beads up, the sealer is doing its job. If it soaks in and darkens the grout, it’s time to reseal.
Clean and Reseal Annually in Wet Areas
In showers, tub surrounds and other wet areas, plan to clean and reseal annually. Sealer wears off with regular use and cleaning. Ongoing care makes a big difference:
- Run the bathroom exhaust fan during and after showers to help surfaces dry.
- Squeegee or wipe down shower walls after use.
- Clean grout regularly with a cleaner suitable for your tile and grout. Harsh acidic cleaners can damage grout and some types of stone.
- Address small cracks promptly before they grow.
Common Mistakes
- Grouting over old, loose grout without removing it
- Using grout in corners and change-of-plane joints that need caulk
- Mixing too much grout at once and having it set up
- Using too much water when sponging, which weakens the grout
- Sealing before the grout has cured
- Ignoring loose tiles or soft walls that point to hidden water damage
What to Do This Week
- Inspect grout in showers, tubs, backsplashes and floors.
- Press on tiles near damaged grout to check for movement.
- Do the water-drop test to see whether grout needs sealing.
- Plan your repair: remove, regrout, cure, seal.
- Put an annual reseal on your calendar.
If you’ve found loose tile, soft spots or extensive grout failure, we can help repair it properly. AX Home Pro handles repairs, improvements and maintenance for homeowners. Request an estimate to get started.