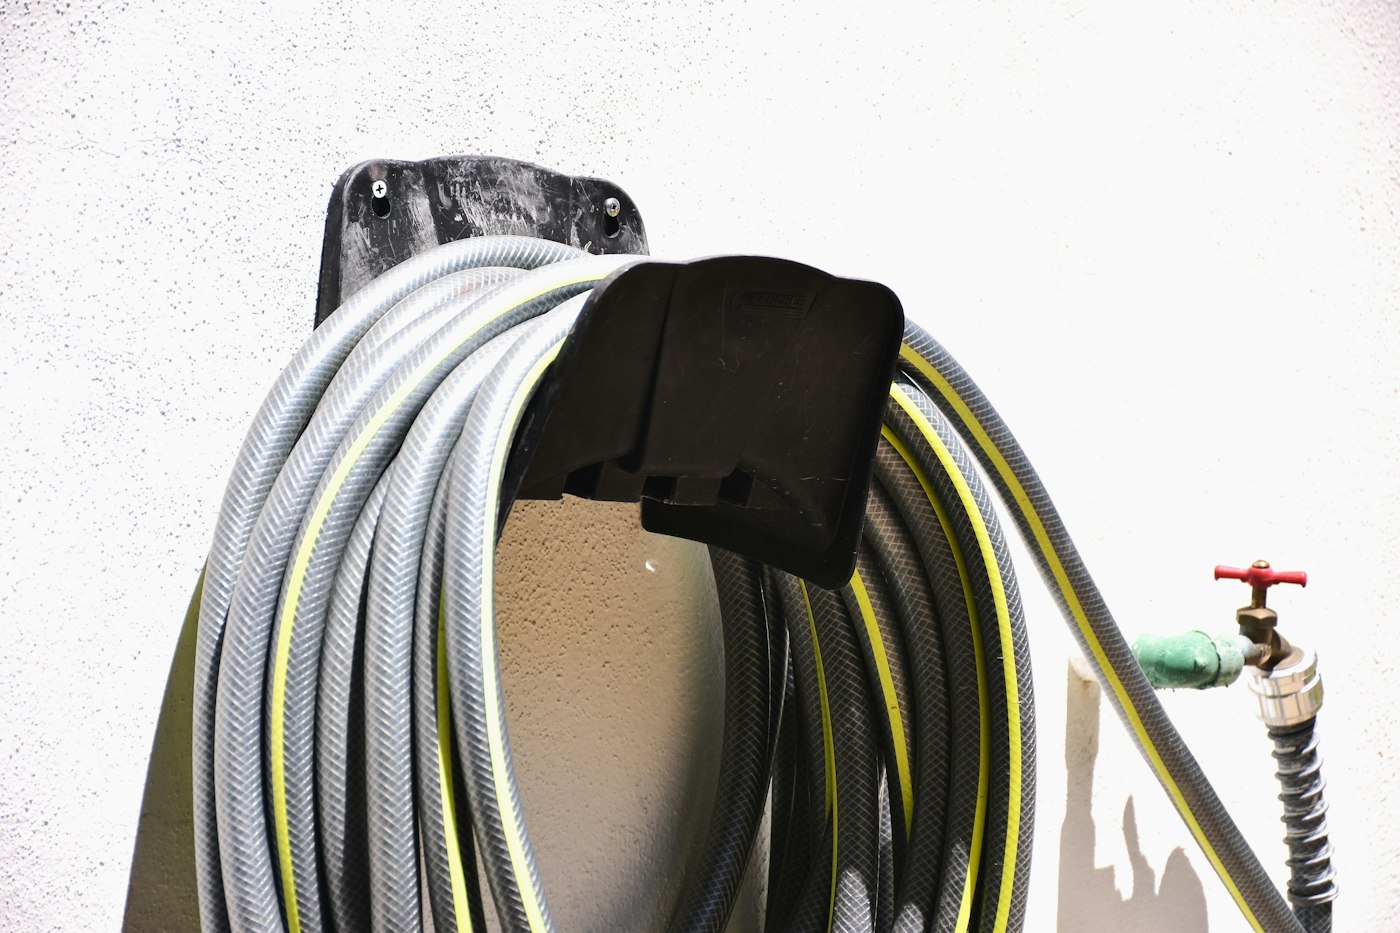
Outdoor faucets are small, simple fixtures, and that is exactly why they get overlooked until a freeze cracks one. The fix is a four-step routine that takes only a few minutes per faucet: disconnect hoses, shut interior valves, drain, and cover. Done in the right order before the first hard freeze, it protects the faucet and, just as important, the section of pipe hidden inside your wall. Here is how to do each step properly, how to handle different faucet types and what to watch for if something does not look right.
Why Outdoor Faucets Freeze
Water expands as it freezes. In a pipe or valve, that expansion creates enormous pressure, enough to split copper, crack brass castings or push apart fittings. Outdoor faucets, often called hose bibs or sillcocks, are especially exposed because the fixture sits outside and the supply pipe runs through an exterior wall, often through a cold rim joist, crawlspace or unheated garage.
The worst part is that damage often hides. A pipe can crack inside the wall during a cold night and show no sign until the weather warms, the faucet is turned on and water starts running into a basement, crawlspace or wall cavity instead of out of the spout.
The Four-Step Routine
Step 1: Disconnect Hoses
Start here every time. A hose left attached holds water against the faucet and prevents it from draining. Even a frost-free faucet, which is designed to drain itself, cannot do its job when a hose is connected and trapping water in the valve body.
- Unscrew every hose, splitter, timer and quick-connect fitting.
- Drain hoses by laying them out on a slope, then coil and store them indoors.
- Check for hoses hidden behind shrubs or at the far corners of the house.
Step 2: Shut Interior Valves
Most outdoor faucets in homes with standard (non-frost-free) fixtures have a dedicated shut-off valve inside the house. Look for it:
- In the basement or crawlspace, on the pipe heading toward the exterior wall behind the faucet.
- In a utility room, laundry area or garage near that wall.
- Behind an access panel or in a cabinet below a nearby sink.
Turn the valve fully closed. Some valves are gate valves with round wheel handles; others are ball valves with lever handles that close with a quarter turn so the lever sits crosswise to the pipe. If a valve will not turn, is leaking or is badly corroded, do not force it; that is a repair to schedule.
Step 3: Drain
With the interior valve closed, go outside and open the faucet fully. Some water will run out. That is the water sitting in the line between the shut-off and the spout.
- Leave the outdoor faucet open so any remaining water has room to expand.
- If the interior valve has a small bleeder cap on its side, place a container under it and open the cap to let air in, which helps the line drain completely. Close the cap afterward.
- Check that water stops flowing. A faucet that keeps running after the shut-off is closed usually means the interior valve is not sealing.
Step 4: Cover
An insulated faucet cover is an inexpensive extra layer of protection. Most are foam domes or soft insulated pouches that fit over the faucet and hold tight with a loop or drawstring.
- Fit the cover snugly against the wall so cold air cannot slip behind it.
- Prioritize faucets on exposed or north-facing walls and anywhere the wind hits hard.
- Check covers after storms and replace any that are cracked or blown loose.
Frost-Free Faucets: What Changes
Frost-free hose bibs place the actual valve deep inside the wall, where it stays warmer, and they are installed with a slight downward slope so water drains out when the faucet is closed. Many have no separate interior shut-off. For these:
- Disconnecting the hose is still essential.
- Close the handle and let it drain naturally.
- A cover still adds protection in severe cold.
If a frost-free faucet drips constantly or leaks from the handle, it may need repair or replacement before winter.
Don’t Forget These
- Irrigation systems. Sprinkler lines and backflow devices need their own shutdown, typically following the manufacturer’s procedure.
- Outdoor kitchens and showers. Any exterior plumbing needs to be drained.
- Garage faucets. Unheated garages can freeze too.
- Exposed pipes. Insulate supply pipes in crawlspaces, garages and along exterior walls.
Signs You Have a Problem
Call for a repair if you notice:
- Water still running from the faucet after the interior valve is closed.
- Drips or leaks at the interior valve or along the pipe.
- A faucet handle that spins without shutting off or is hard to turn.
- Moisture or stains on the inside wall behind a faucet.
- No water or weak flow in spring, which can mean a split pipe.
Common Mistakes to Avoid
- Closing the interior valve but leaving the hose on.
- Closing the outdoor faucet after draining, which can trap water in the line.
- Covering a faucet that has not been drained and calling it done.
- Waiting until the night of the forecast freeze to start.
What to Do This Week
- Walk the outside of your home and count every outdoor faucet.
- Disconnect and store all hoses and fittings.
- Locate and close each interior shut-off valve.
- Open each outdoor faucet to drain it, and leave it open where appropriate.
- Install insulated covers.
- Note any valve that leaks, sticks or will not shut off, and schedule a repair.
If you cannot find a shut-off, a valve will not close, or you would like to upgrade to frost-free faucets, we can take care of it. AX Home Pro handles repairs, improvements and maintenance for homeowners. Request an estimate to get started.