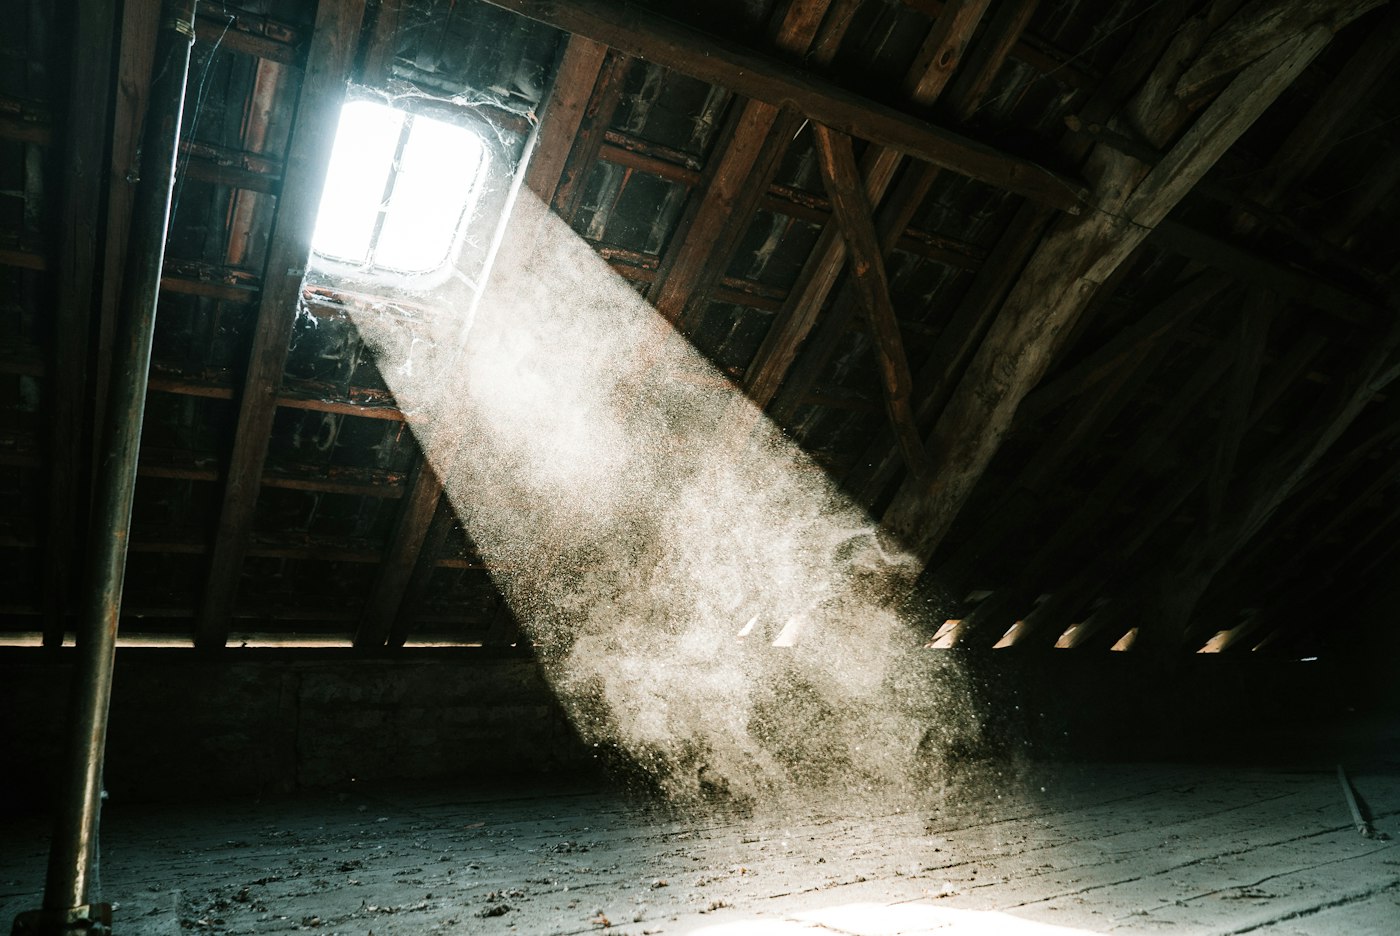
Add insulation to recommended depth, ensure soffit and ridge vents are clear, and seal air leaks around fixtures. Those three steps are among the most effective ways to bring down summer cooling costs, and they all start in a place most homeowners rarely visit: the attic. On a hot, sunny day, an attic can get far hotter than the outdoor air. That heat radiates down through the ceiling into your living space, and your air conditioner has to work to remove it. Here’s how attic heat affects your home and what you can do about it.
How Attic Heat Reaches Your Living Space
Sun beating on a roof heats the shingles and roof deck, which in turn heat the air in the attic. That heat moves into your home in a few ways:
- Through the ceiling. Heat moves from the hot attic toward the cooler rooms below. Insulation slows this down.
- Through air leaks. Gaps around light fixtures, attic hatches, plumbing vents and wiring let air move between the attic and the house.
- Through ductwork. In many homes, AC ducts run through the attic. Hot attic air heats the cooled air inside poorly insulated or leaky ducts before it reaches your rooms.
The result: upstairs rooms that are uncomfortably warm, an AC that runs constantly and higher cooling bills.
Add Insulation to Recommended Depth
Insulation is your main barrier against heat moving through the ceiling. Many attics, especially in older homes, have less insulation than current recommendations, or insulation that has settled, compressed or been disturbed over the years.
How to check your insulation
- Get into the attic safely. Go early in the morning when it’s cooler. Wear long sleeves, gloves, eye protection and a dust mask. Step only on joists or a solid walkway; stepping between joists can send your foot through the ceiling.
- Look across the attic floor. If you can see the tops of the ceiling joists, you probably don’t have enough insulation.
- Measure the depth with a ruler in several spots.
- Look for gaps and thin areas, especially around the hatch, along the edges and anywhere someone has worked.
- Check for problems: damp or stained insulation, signs of pests, or insulation that’s been compressed.
Recommended depth
Insulation is rated by R-value, a measure of resistance to heat flow. Recommended attic R-values depend on your climate zone. The U.S. Department of Energy and ENERGY STAR publish recommended levels by region, and your local building department can tell you what applies to your area. The depth needed to reach a target R-value depends on the type of insulation, such as blown-in fiberglass, cellulose or batts.
Adding insulation over existing insulation is often possible, as long as the existing material is dry and in good condition. Make sure any wet or damaged insulation is addressed, and the cause of moisture fixed, first.
Ensure Soffit and Ridge Vents Are Clear
Ventilation lets hot, moist air escape from the attic. A common design uses soffit vents under the eaves to bring cooler outside air in low, and ridge vents along the peak of the roof to let hot air out high. Because hot air rises, this creates a natural flow through the attic.
What blocks ventilation
- Insulation pushed into the eaves can cover soffit vents from the inside. Baffles, also called rafter vents, keep a channel open between the insulation and the roof deck.
- Paint, debris or nests can clog soffit vents from the outside.
- Stored items in the attic can block airflow paths.
- Mismatched vent types can short-circuit airflow; for example, some combinations of vents can pull air from each other instead of from the soffits.
From outside, look at your soffit vents for blockages. In the attic, check that daylight or airflow is visible at the eaves and that baffles are in place. If you’re unsure whether your attic has enough ventilation, a professional can evaluate it.
Seal Air Leaks Around Fixtures
Air leaks between the attic and the living space are often a bigger problem than people expect. Insulation slows heat, but most types don’t stop air from moving through. Sealing leaks before adding insulation is one of the most effective upgrades you can make.
Common leak spots
- Recessed light fixtures
- Ceiling light boxes and fan boxes
- Plumbing vent pipes and wiring holes through the top plates of walls
- The attic hatch or pull-down stairs
- Gaps around chimneys and flues
- Bathroom exhaust fans
- Dropped soffits over kitchen cabinets
How leaks are sealed
- Caulk or foam sealant for small gaps around wires and pipes
- Weather stripping and an insulated cover for the attic hatch
- Covers rated for use around recessed lights, or replacing older fixtures with airtight-rated ones
- Fire-safe materials around chimneys and flues, which require clearance from combustibles
Other Ways to Reduce Attic Heat
- Seal and insulate attic ductwork. Leaky ducts in a hot attic waste a lot of cooling.
- Consider roofing and radiant barriers. When it’s time for a new roof, lighter or reflective roofing materials can reduce heat gain. Radiant barriers can help in some climates.
- Shade and window treatments. While not attic-related, reducing solar heat through windows helps upstairs rooms.
Common Mistakes
- Adding insulation without sealing air leaks first
- Blocking soffit vents with insulation
- Covering recessed lights not rated for contact with insulation, which can be a fire hazard
- Working in the attic in the heat of the day
- Stepping between joists
What to Do This Week
- On a cool morning, look into your attic and check insulation depth.
- Check soffit vents from outside and inside for blockages.
- Note leak spots around fixtures, pipes and the hatch.
- Weather-strip the attic hatch.
- Plan to seal leaks, then add insulation to the recommended depth for your area.
Attic work is hot, dusty and detailed, and we can handle it for you. AX Home Pro handles repairs, improvements and maintenance for homeowners. Request an estimate to get started.