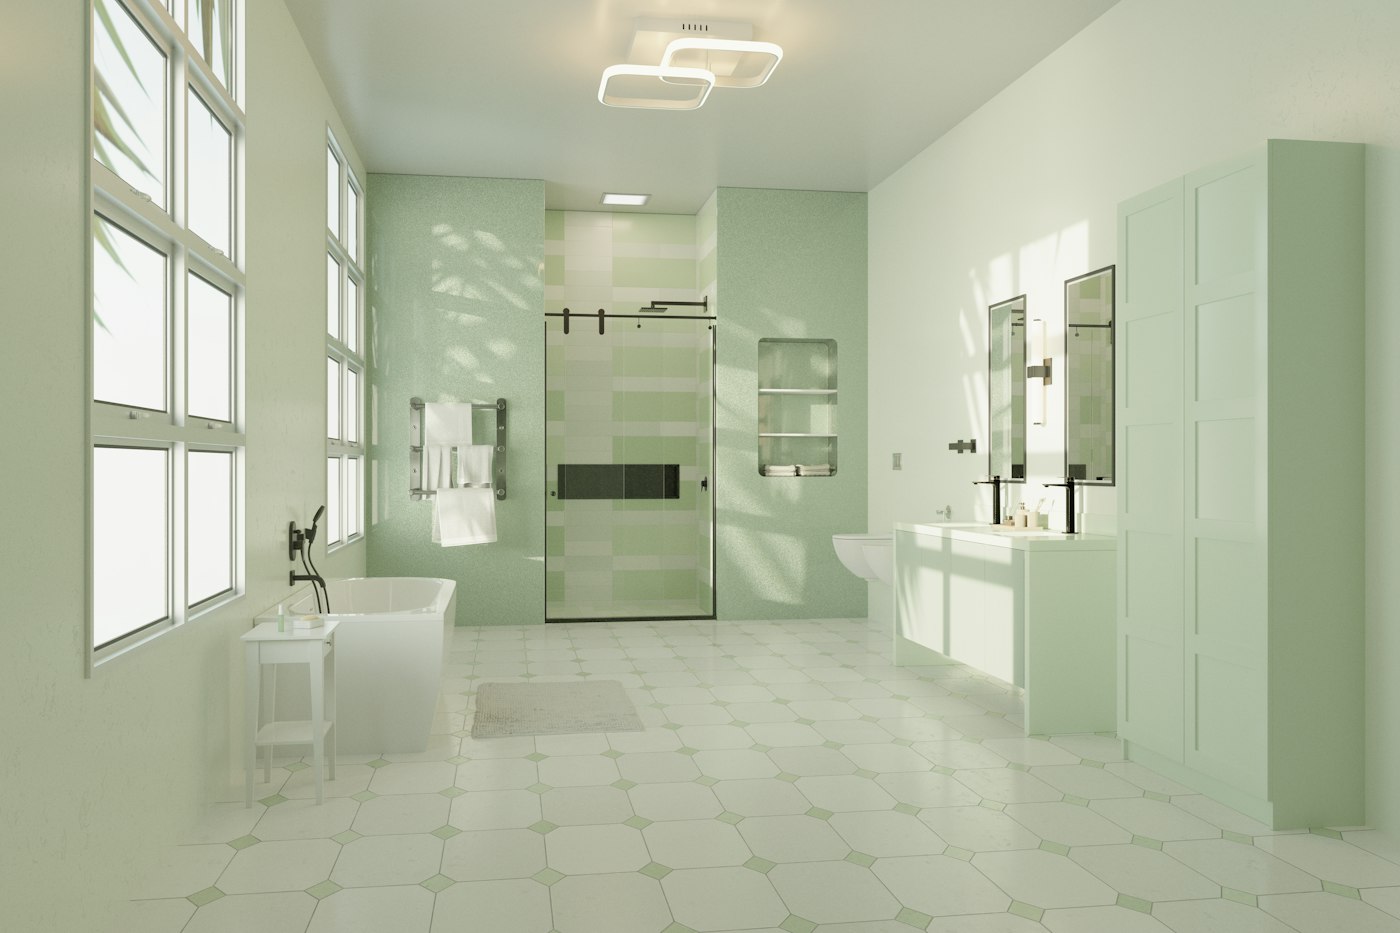
The bathroom exhaust fan is one of the hardest-working and least-noticed appliances in your home. Every shower releases moisture into the air, and the fan is what carries that moisture outside before it can fog mirrors, peel paint and feed mold. When a fan gets dusty, weak or loud, people stop using it, and problems follow. Our advice: clean the grille and motor, and replace undersized or noisy fans.
What a Bathroom Exhaust Fan Does
A properly working exhaust fan removes humid air and odors and sends them through a duct to the outside of the house. That protects your home in several ways:
- It reduces condensation on mirrors, windows, walls and ceilings.
- It helps prevent mold and mildew on grout, caulk, drywall and ceilings.
- It protects paint, trim, cabinets and doors from swelling and peeling.
- It keeps moisture from migrating into walls and ceiling cavities.
- It clears odors quickly.
Run the fan during every shower and for a while afterward until the room has cleared. A fan with a timer or humidity sensor makes this easy.
Signs Your Fan Is Not Doing Its Job
- Mirrors stay fogged long after a shower
- Paint is peeling or bubbling on the ceiling
- Mildew keeps returning on grout, caulk or ceiling corners
- The fan is loud, rattles or hums without much airflow
- Dust is caked on the grille
- A tissue held up to the grille does not get pulled firmly toward it
- The fan barely runs, or not at all
Clean the Grille and Motor
Many weak fans are just dirty. Dust and lint build up on the grille, fan blades and motor, cutting airflow and adding noise. Cleaning is a good first step.
- Turn off the power. Switch the fan off and turn off the circuit breaker before reaching inside.
- Remove the grille. Most grilles are held by spring clips. Pull down gently and squeeze the clips to release.
- Wash the grille. Soak it in warm, soapy water, scrub with a soft brush, rinse and let it dry completely.
- Vacuum the housing. Use a brush attachment to remove dust from the fan wheel, motor and housing.
- Clean the blades. Wipe them with a damp cloth. On many models, the motor and wheel unplug and lift out for easier cleaning.
- Check the damper. The small flap at the duct connection should swing freely. A stuck damper chokes airflow.
- Reassemble and test. Restore power and try the tissue test again.
Clean the grille a couple of times a year and the motor area at least once a year.
Check the Ductwork
A fan is only as good as the duct behind it. If cleaning does not help, the problem may be the venting.
- Confirm it vents outside. Fans should exhaust through a roof, wall or soffit vent designed for the purpose, not into the attic. Venting moist air into the attic can cause condensation, mold and damage to the roof structure.
- Look for crushed or kinked duct. Flexible ducts can sag or get stepped on in the attic.
- Check the length and turns. Long runs with many bends reduce airflow.
- Insulate the duct in unheated attics to reduce condensation inside it.
- Check the exterior flap. The outside vent cap should open when the fan runs and close when it stops. Nests and debris can block it.
Replace Undersized or Noisy Fans
If your fan is old, weak or loud, replacement is often the better answer. Many older fans were undersized from the start, and loud fans tend to be turned off early or not used at all.
Sizing
Fans are rated by airflow in cubic feet per minute, or CFM. A common guideline for typical bathrooms is at least one CFM per square foot of floor area, with a minimum of about 50 CFM. Larger bathrooms, high ceilings or separate toilet and shower areas may call for more airflow or more than one fan. Local codes also have ventilation requirements.
Noise
Fan noise is measured in sones. Lower numbers are quieter. A quiet fan is far more likely to be used, which is the whole point.
Useful features
- Humidity-sensing controls that turn the fan on and off automatically
- Timer switches that let the fan run for a set time after you leave
- Built-in lights or night-lights
- Energy-efficient motors designed for longer run times
- Fan and light combinations listed for use over tubs or showers where required
Replacement or retrofit
Many replacement fans are designed to fit existing housings or ceiling openings, which keeps the job simpler. Upgrading to a higher-capacity fan sometimes requires a larger duct, a new housing or a different switch, so check what the new fan needs before you buy. If the ceiling opening must be enlarged, plan for a little drywall patching and paint.
Common Mistakes
- Turning the fan off the moment the shower ends
- Venting the fan into the attic instead of outside
- Replacing a fan with a model of the same low CFM that never worked well
- Ignoring the duct when airflow is weak
- Painting over mildew without fixing the ventilation problem
- Working on the fan without turning off the breaker
What to Do This Week
- Do the tissue test on every bathroom fan.
- Clean the grille and motor on fans that are dusty or weak.
- Check in the attic that each fan duct is connected and vents outside.
- Note fans that are loud, undersized or not working.
- Consider adding a timer or humidity-sensing switch.
If wiring, ductwork or a new fan housing is involved, it is worth having the job done right the first time. AX Home Pro handles repairs, improvements and maintenance for homeowners. Request an estimate to get started.