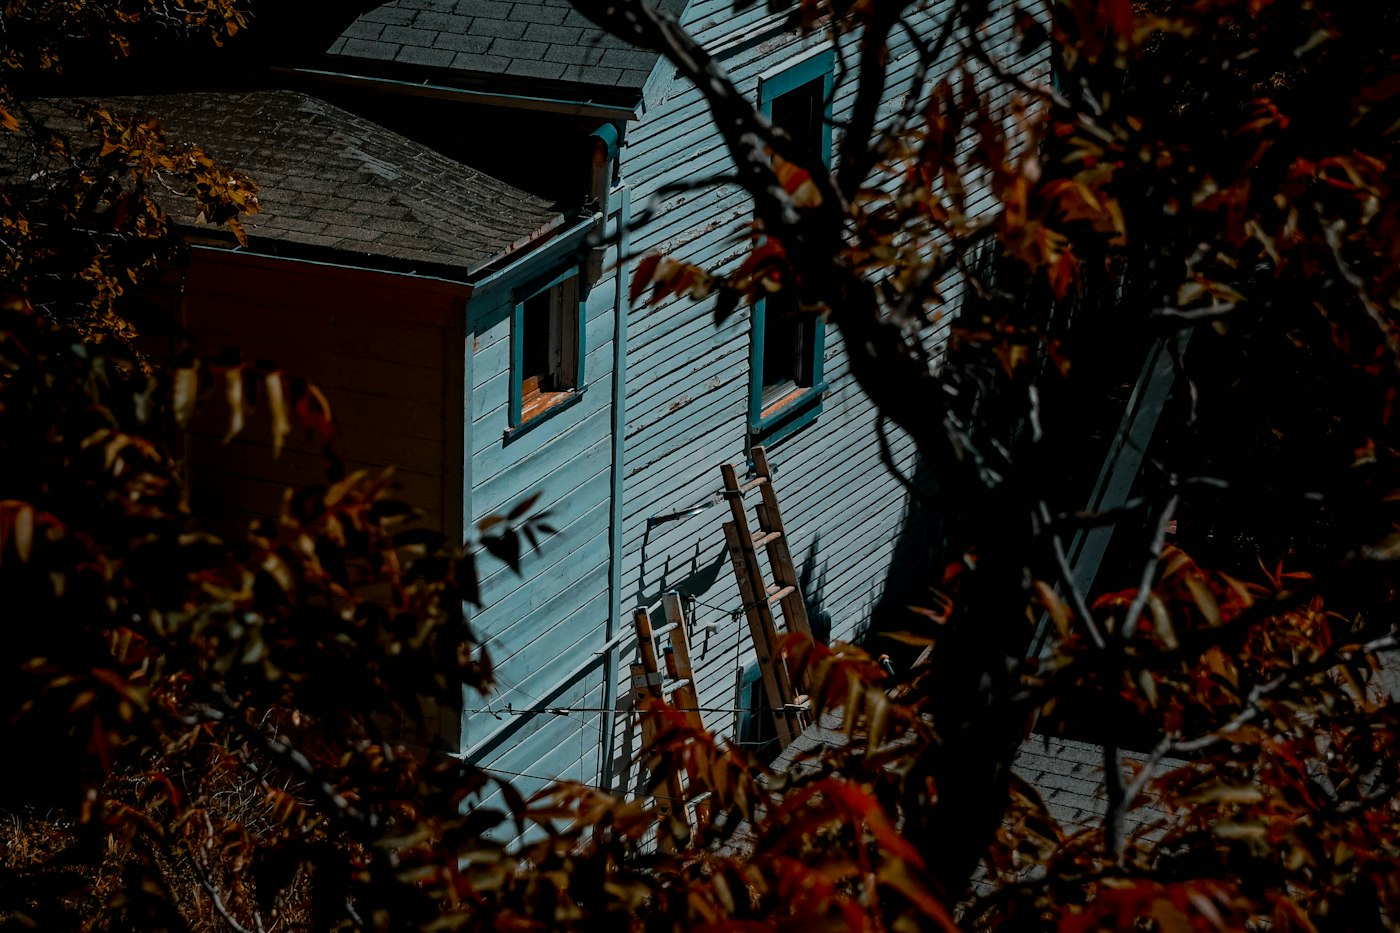
Painters like to say that a good paint job is mostly preparation, and on a home’s exterior that is especially true. The best paint on the market will peel if it goes over dirt, chalky old paint or damp wood. Late spring and summer bring the dry, mild stretches that exterior painting needs, but the days spent preparing the surface decide how long the finish will last.
Inspect and test first
Walk around the house and look closely. Note peeling, cracking and blistering paint, soft or rotted wood, open joints in the trim and mildew in shady areas. Rub a hand across painted siding. A chalky residue means the old paint is breaking down and must be cleaned off before new paint will bond.
If the home was built before 1978, assume the old paint may contain lead until testing shows otherwise. Scraping and sanding lead paint creates hazardous dust. Contractors who disturb paint in pre-1978 homes are generally required to follow the EPA’s lead-safe renovation rules, and the agency’s website explains what that involves.
Clean the surface
Siding and trim should be washed to remove dirt, chalk, mildew and cobwebs. A gentle wash with a suitable cleaner and a soft brush or low-pressure rinse is safer than a high-pressure blast, which can drive water behind siding, gouge wood and damage windows. Mildew should be treated with a cleaner made for the purpose. The surface then needs time to dry completely before any paint goes on.
Scrape, repair and prime
Loose and peeling paint must come off. Scraping removes what is failing, and sanding feathers the edges so the transition does not telegraph through the new coat. This is also the time to repair or replace rotted wood, whether that means filling small areas with an exterior-grade filler or epoxy or replacing damaged boards and trim. Some homeowners choose PVC or composite trim for spots that stay damp.
Bare wood and repaired areas need primer, which seals the surface and gives the topcoat something to grip. Knots and water stains may need a stain-blocking primer.
Caulk with care
Caulk seals the joints where trim meets siding, around windows and doors and at corners. Use a quality exterior sealant that accepts paint. Just as important is knowing where not to caulk. The bottom edges of lap siding should stay open so any water that gets behind the boards can drain and the wall can dry. Sealing those gaps can trap moisture inside the wall.
Timing and weather
- Follow the label’s temperature range for both air and surface, and check the overnight forecast.
- Avoid painting in hot, direct sun when possible, since paint can dry too fast and show lap marks or blister. Many painters follow the shade around the house.
- Let morning dew burn off, and stop early enough for paint to set before evening dew arrives.
- Skip days with rain in the forecast, and allow drying time between coats as the manufacturer recommends.
Preparation takes patience and is less satisfying than rolling on a fresh color. It is also where most of a paint job’s lifespan is earned. Whether you hire a crew or take on the work yourself, ask how each of these steps will be handled before the first can is opened.
A Side-by-Side Walk Through One Wall
It helps to picture prep on a single wall, start to finish. Imagine the shady north side of a house with lap siding, a couple of windows and a door, where paint has started to peel near the bottom courses and a green film has formed under the eaves.
- Day one, morning: Protect plantings with drop cloths, cover the walkway, and move outdoor furniture away from the wall. Close windows and doors.
- Day one, midday: Treat the mildew with a suitable cleaner, scrub where needed and rinse gently. Wash the rest of the wall to remove chalk and dirt.
- Days two and three: Let the wall dry. A shady wall can take longer than a sunny one, so resist the urge to hurry.
- Day three or four: Scrape loose paint from the lower courses and around the window sills. Sand the edges smooth. Mark soft spots with tape as you go.
- Next: Probe each taped spot. Fill small damaged areas with exterior filler or epoxy, and replace boards or trim where the damage is deeper.
- Then: Spot-prime bare wood and repairs, and use a stain-blocking primer over knots and water marks.
- Finally: Caulk the vertical joints at trim and corners, leave the lap edges open, and let caulk cure as the label directs before painting.
Multiply that by every side of the house and it is easy to see why prep can take longer than painting itself, and why it is time well spent.
Prep Mistakes That Cause Early Failure
- Painting over chalk. If the wall leaves residue on your hand after washing, it is not clean enough. New paint will cling to the chalk rather than the wall.
- Painting too soon after washing. Damp wood can push moisture out through new paint and cause blistering. Give the surface time to dry fully.
- Skipping primer on bare spots. Topcoat alone over bare wood often looks fine at first but fails sooner.
- Caulking every gap. Sealing the bottom edges of lap siding traps water. Caulk vertical joints and trim, not the drip edges.
- Ignoring the cause of peeling. Paint that peels in one area again and again is often a moisture problem, such as a leaky gutter, a missing flashing or a bathroom with no exhaust fan. Fix the source or the new paint will follow the old.
- Rushing the repairs. Painting over soft wood hides rot without stopping it.
Questions to Ask a Painting Contractor
- How will you clean the house, and will you use high pressure anywhere?
- How will you handle peeling areas, and how much scraping and sanding is included?
- If the house was built before 1978, how will you test for lead and follow lead-safe practices?
- How will rotted wood be found, priced and repaired?
- Which primer and caulk will you use, and where will you leave gaps open?
- How will plants, windows, walkways and outdoor fixtures be protected?
- What weather conditions will cause you to pause the work?
Quick Answers
How long should a wall dry after washing?
It depends on sun, humidity and the material. Many painters wait at least a full dry day, longer for shady walls, and some check wood with a moisture meter before painting.
Can I paint over old oil-based paint with latex?
Often, yes, with proper cleaning, light sanding to dull the surface and a primer recommended for the purpose. Ask at the paint store about the right primer for your surface.
Is one coat of paint enough?
Two coats generally give better coverage and durability, especially with a color change. Follow the manufacturer’s recommendations for the product you choose.
What about the trim and doors?
They get the same treatment: clean, scrape, repair, prime and caulk where needed. Doors and window sills take the most wear, so they deserve extra attention.