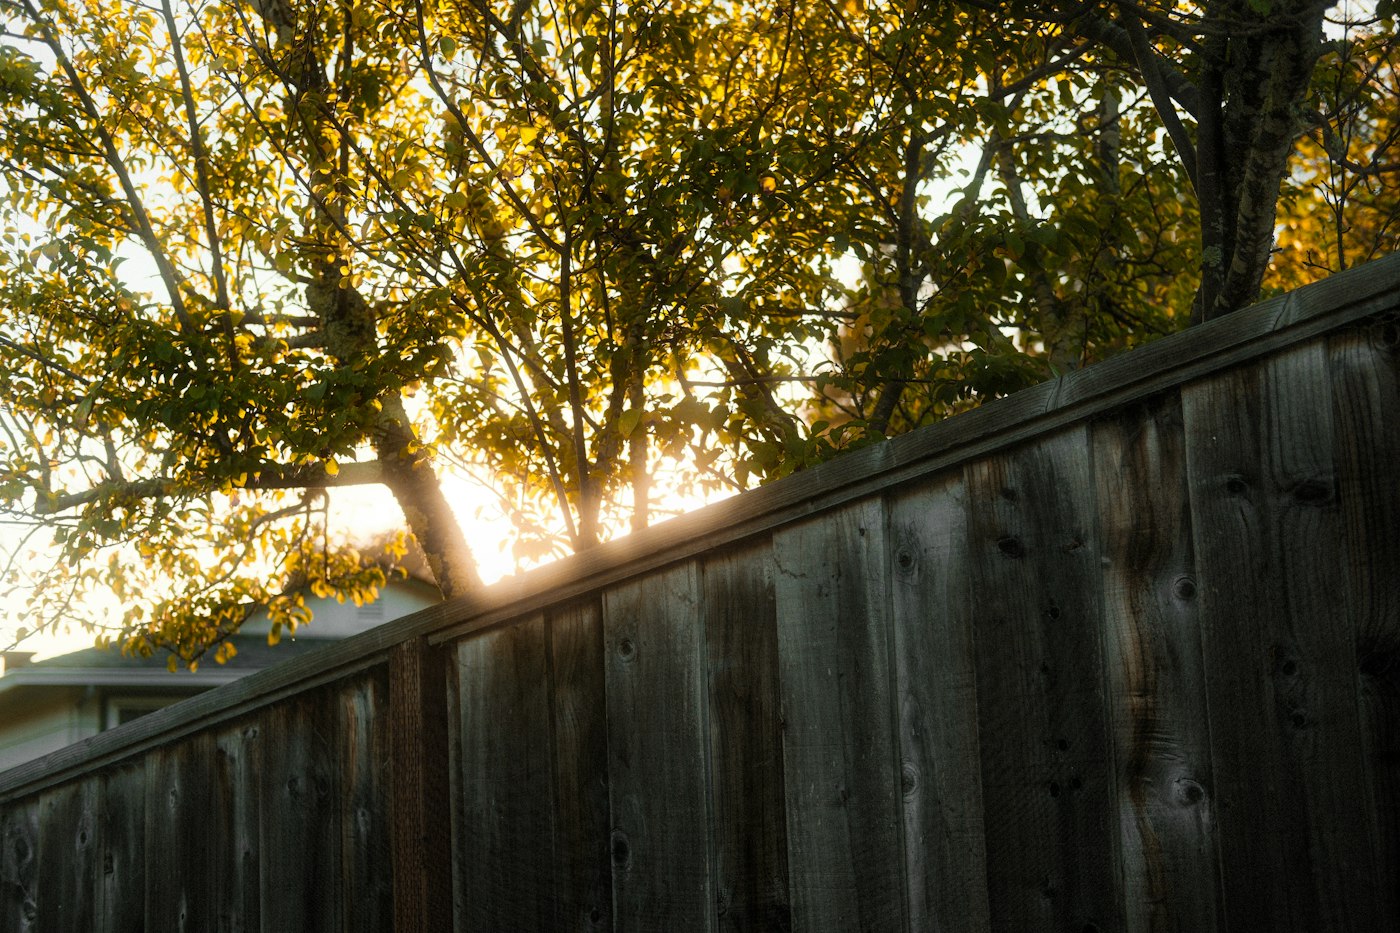
A wood fence does a lot of work. It marks your property line, gives you privacy, keeps kids and pets in the yard and frames the look of your landscaping. It also stands outside in every kind of weather, year after year, with nothing to protect it but the finish you give it. When a fence starts to lean, sag or turn gray and splintery, a little attention can add years to its life. The essentials are clear: replace rotted posts, refasten pickets, and stain or seal.
Inspect Before You Repair
Walk the full length of the fence on both sides. Look and push as you go. Check for:
- Leaning sections, which usually point to a failing post
- Wobbly posts that move when you push on them
- Soft or crumbling wood at the base of posts, right at ground level
- Loose, cracked or missing pickets and boards
- Sagging rails, the horizontal boards that hold pickets
- Rusty or popped nails and screws
- Gates that drag, sag or will not latch
- Gray, weathered, splintery wood that absorbs water quickly
- Vines, shrubs or soil piled against the fence, which keep wood wet
Press a screwdriver into the base of each post. If it sinks in easily, the post is rotting.
Replace Rotted Posts
Posts are the backbone of a fence. They usually rot at ground level, where wood stays damp and soil organisms do their work. Once a post rots, the fence will lean no matter how good the pickets look.
How post replacement works
- Call before you dig. Contact your local utility locating service before digging so buried lines are marked.
- Support the fence. Brace the panels on either side so they do not fall when the post is removed.
- Detach the rails. Remove fasteners connecting the rails to the old post.
- Remove the old post. Dig around it and pull it out, breaking up old concrete footings as needed.
- Set the new post. Use pressure-treated lumber rated for ground contact. Add gravel to the bottom of the hole for drainage, set the post plumb and secure it with concrete or compacted gravel.
- Shape the top of the footing. If using concrete, slope it away from the post so water runs off instead of pooling.
- Reattach the rails once the footing has set, using exterior-rated fasteners.
In some cases, a post repair bracket or a steel post anchor can stabilize a post that is rotted only at the base. These are good short-term fixes but may not last as long as a full replacement.
Refasten Pickets
Loose pickets rattle in the wind, look sloppy and eventually fall off. Refastening them is usually quick.
- Use exterior-rated fasteners. Galvanized or stainless steel screws or nails resist rust and staining. Screws generally hold better than nails as wood expands and contracts.
- Fasten into solid rail. If the rail is rotted, it needs to be repaired or replaced first.
- Pre-drill near the ends of pickets to prevent splitting.
- Replace damaged pickets. Cracked, warped or rotted pickets should be replaced. Match the width, height and top style as closely as possible.
- Keep spacing consistent. Use a spacer block to match existing gaps.
- Fix sagging rails. A rail bracket can reinforce a rail that is pulling away from its post.
Gates
Sagging gates are one of the most common fence complaints. Tighten or replace hinge screws, add longer screws into solid wood, or install an anti-sag kit, which uses a cable and turnbuckle to pull the gate back into square. Adjust the latch once the gate hangs correctly.
Stain or Seal
Once repairs are done, protect the wood. Bare wood weathers quickly, absorbing water and drying out repeatedly, which leads to cracks, warping and rot. A good stain or sealer slows that process.
Choosing a finish
- Clear sealers repel water and preserve the natural look of the wood, but offer little protection from sunlight.
- Semi-transparent stains add color and UV protection while letting wood grain show through.
- Solid stains provide the most color and UV protection and can hide uneven weathering, though they cover the grain.
How to apply it
- Clean the fence. Remove dirt, mildew and gray weathered fibers with a wood cleaner or brightener. Use gentle pressure if you pressure wash, keeping the wand moving to avoid gouging.
- Let it dry. Wood should be completely dry before staining, usually for a couple of days after cleaning.
- Protect plants and surfaces with drop cloths.
- Check the weather. Pick a dry stretch with moderate temperatures and no rain forecast, following the product label.
- Apply evenly with a brush, roller or sprayer, back-brushing to work stain into the wood. Do the posts, rails and both sides of the pickets where possible.
Reapply as recommended by the product manufacturer, or when water stops beading on the surface.
Keep Your Fence Healthy
- Keep soil, mulch and leaves from piling against the bottom of the fence.
- Trim plants and vines that hold moisture against the wood.
- Direct sprinklers away from the fence.
- Check posts and gates each spring and fall.
What to Do This Week
- Walk the fence and push on every post.
- Mark rotted posts, loose pickets and sagging rails.
- Replace rotted posts and refasten pickets with exterior-rated fasteners.
- Fix sagging gates with new hardware or an anti-sag kit.
- Clean the fence and stain or seal it on a dry, moderate day.
AX Home Pro handles repairs, improvements and maintenance for homeowners. Request an estimate to get started.