
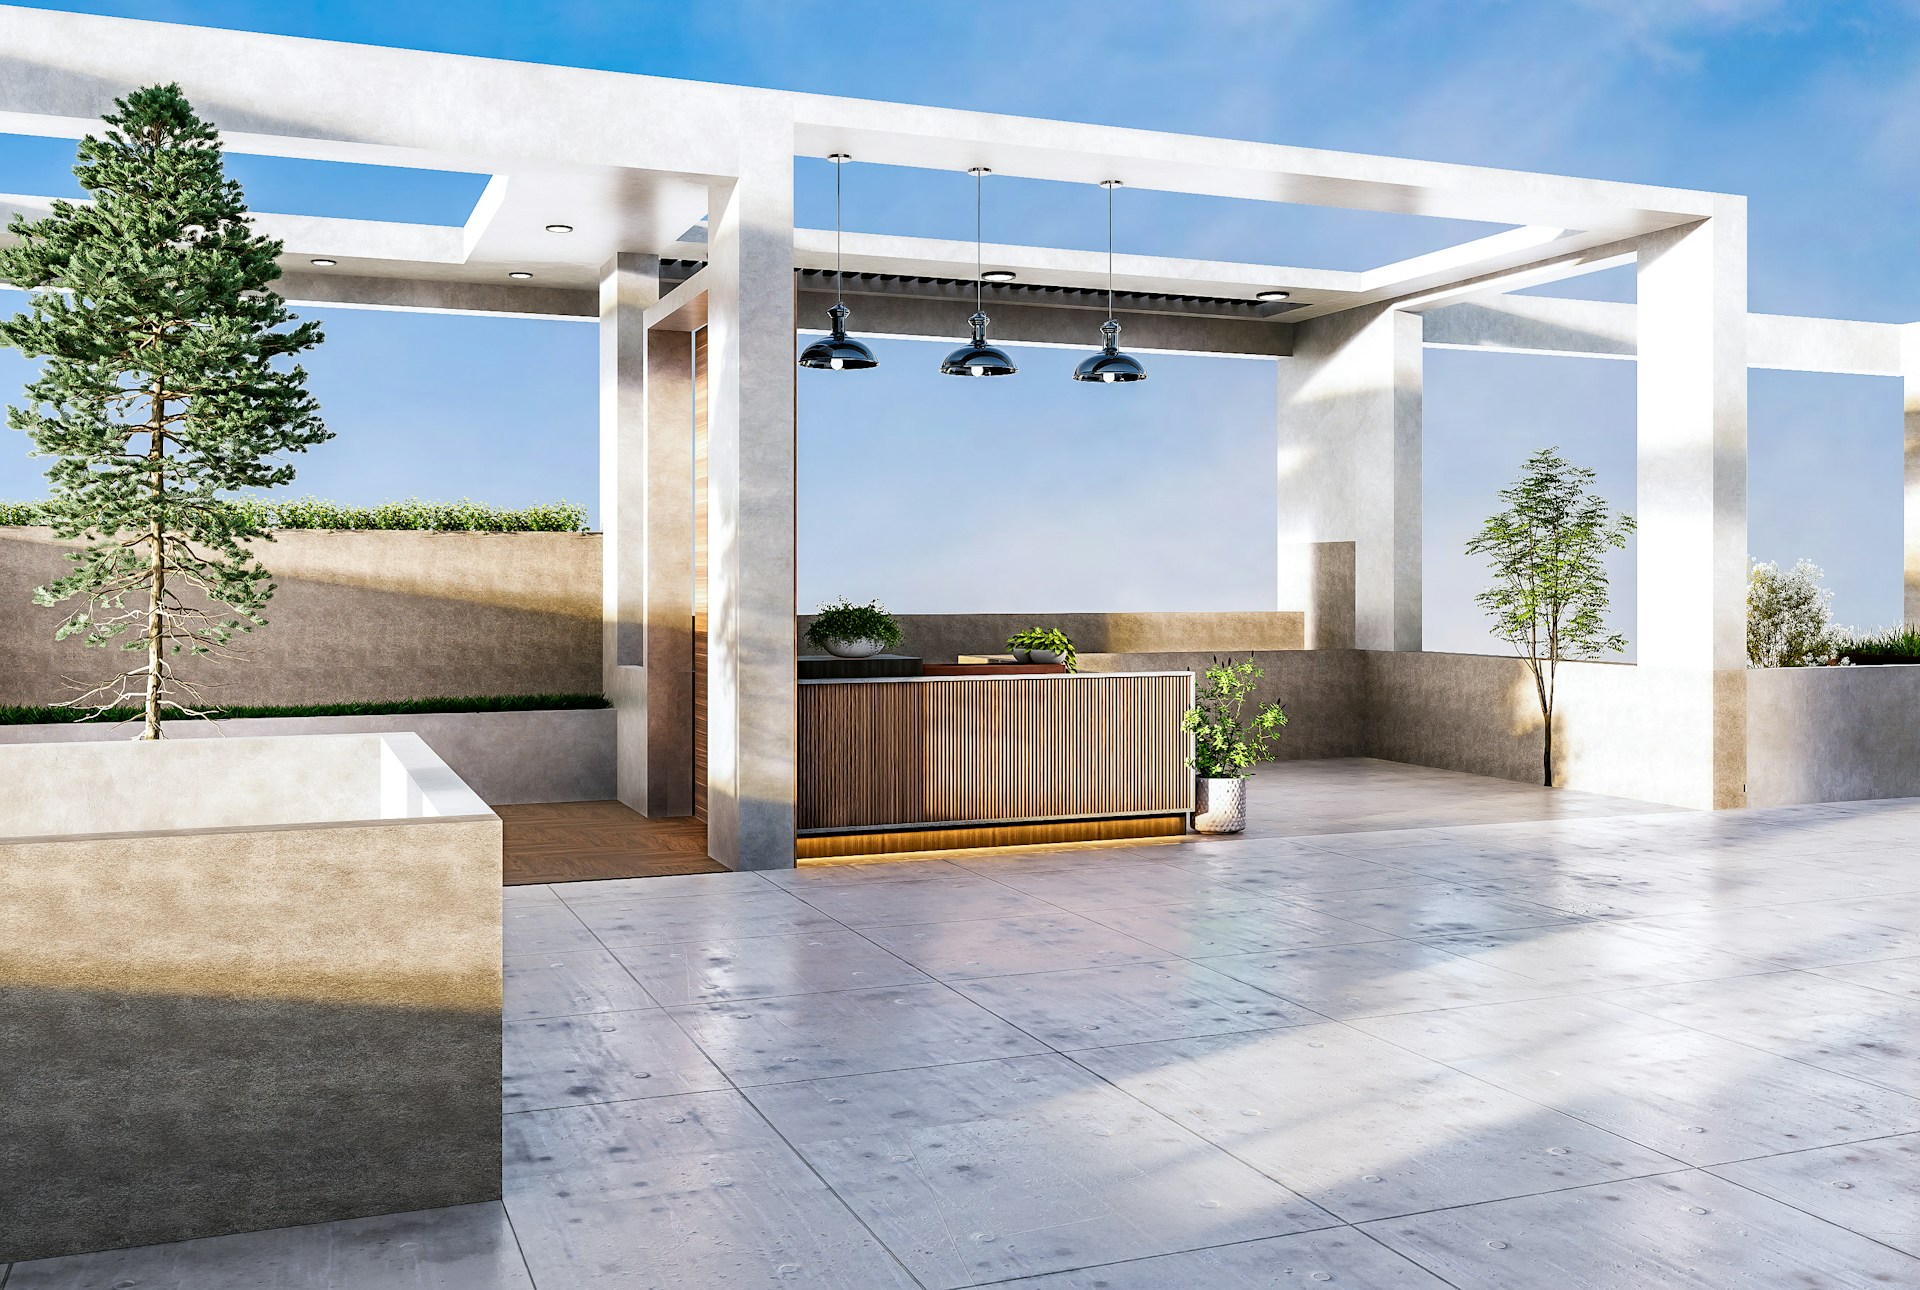
A roof over an outdoor kitchen extends the cooking season, keeps the cook out of the summer sun and lets dinner carry on through a passing shower. It also changes the physics of grilling. In the open, smoke and heat rise and blow away. Under a roof, they collect against the ceiling, stain it and, in the worst cases, create a fire hazard. A covered outdoor kitchen needs the same thoughtful ventilation and fire safety planning as an indoor one.
Clearances come first
Grill manufacturers specify minimum clearances to combustible materials above, behind and beside the grill, and those numbers are not suggestions. Wood ceilings, beams, vinyl soffits and some composite materials can scorch, warp or ignite if they are too close to a grill’s heat and grease-laden smoke. Before designing the roof or island, get the installation manual for the grill you plan to use and design around it.
Charcoal grills, smokers, pizza ovens and wood-burning features produce more smoke and sparks than gas grills and may have different requirements. Fire codes and homeowners association rules may also restrict certain cooking appliances under roofs, on decks or near structures, so check local rules as well.
Outdoor-rated ventilation hoods
For a grill under a solid roof, an outdoor-rated ventilation hood is often the best solution. These hoods are built to handle the heat and heavy smoke of grilling and to stand up to weather. They are typically larger and more powerful than indoor range hoods, because breezes push smoke sideways and grills produce a lot of it.
- A hood is usually sized wider than the grill so it can capture smoke that drifts with the wind.
- Its height above the cooking surface affects how well it captures smoke, so follow the manufacturer’s range.
- Ducting should run to the exterior through the roof or a wall, using the materials and clearances the hood maker specifies.
- Grease filters need regular cleaning, just as indoors, to prevent buildup and fire risk.
Materials around the grill
Noncombustible materials such as stone, masonry, tile, stucco and metal belong around and above the cooking area. Many covered kitchens use a section of noncombustible ceiling or a metal hood surround directly over the grill, even when the rest of the ceiling is tongue-and-groove wood. If the grill sits in an island framed with combustible materials, the grill maker often requires an insulated jacket.
Plan the ceiling height and openness of the space with smoke in mind. A tall roof with open sides disperses smoke far better than a low, enclosed porch.
Safety basics and planning
Grills must never be used in enclosed spaces such as garages or screened rooms that trap fumes, because combustion produces carbon monoxide. Keep a fire extinguisher suited to grease fires within easy reach, and make sure everyone knows where it is. Gas lines and connections should be installed by a qualified professional and checked for leaks.
The order of decisions matters. Choose the grill and other appliances first, then design the roof, hood and materials around their requirements. A contractor experienced with outdoor kitchens can coordinate clearances, ventilation, gas, electrical work and permits. Done well, a covered kitchen is one of the most enjoyable spaces a home can have, and the smoke goes up and out instead of onto the ceiling.
Planning the Covered Kitchen Step by Step
When we help homeowners plan a covered outdoor kitchen, we work through the project in a set order so that nothing important gets decided by accident. The sequence below keeps the grill, the roof and the ventilation working together instead of fighting one another.
- Pick the cooking appliances. Decide on the grill, side burners, smoker or pizza oven, and download every installation manual before any drawing is made. Note the required clearances above, behind and to each side, and whether the grill needs an insulated jacket in a combustible island.
- Map the smoke path. Think about where smoke goes on a typical evening. Which way does the breeze usually come from? Will it carry smoke toward the seating area, the back door or an open window? Placing the grill downwind of where people sit solves a lot before any equipment is bought.
- Set the roof height and shape. A higher ceiling gives smoke room to rise and disperse. Vaulted or gable roofs often handle heat better than a low, flat porch ceiling tucked under the main roof.
- Choose the hood and duct route. Confirm the hood width, mounting height and duct size with the manufacturer, and plan where the duct exits. Running a duct through a finished porch ceiling later is far harder than planning a clean path from the start.
- Specify materials zone by zone. Decide what goes directly over and around the grill, what goes on the rest of the ceiling and what goes on the island faces and countertops.
- Coordinate the utilities. Gas, electrical circuits for the hood, lights, refrigeration and outlets should all be on the drawings before framing begins.
Common Mistakes We See
Most problems with covered outdoor kitchens come from decisions made in the wrong order or details that were skipped. A few show up again and again.
- Buying the grill after the roof is built. A larger or hotter grill than the one originally planned may not fit the clearances the space was designed around.
- Treating a screened porch as an open-air space. Screens slow airflow and trap smoke and fumes. Cooking appliances belong in a truly open, well-ventilated area.
- Undersizing the hood. A hood the same width as the grill often misses smoke that drifts sideways in a breeze.
- Skipping hood maintenance. Grease filters that are never cleaned become a fire risk of their own. Put filter cleaning on the same schedule as grill grate cleaning.
- Placing ceiling fans directly over the grill. A fan can push smoke and heat back down onto the cook and disrupt the hood’s capture. Fans work better over the dining and seating areas.
- Forgetting lighting. Cooking happens after dark, too. Task lighting over the grill, rated for outdoor and wet locations, makes it safer to see what you are doing.
Living With the Space
Once the kitchen is built, a few habits keep it safe and looking good. Run the hood before you light the grill and leave it on for a few minutes after you finish. Wipe down noncombustible surfaces around the grill regularly so grease does not build up. Check gas connections at the start of each grilling season, and keep the area under and around the grill clear of cushions, umbrellas and stored items.
Questions Homeowners Ask
Can I put a grill under my existing porch roof?
Sometimes, but it depends on the grill’s clearances, the ceiling height, the materials overhead and local rules. An existing porch often needs a noncombustible ceiling section and a hood added before it is suitable.
Do I need a hood if the sides are open?
Open sides help a great deal, but a solid roof still collects heat and smoke directly above the grill. Many homeowners find a hood worthwhile even in an open pavilion, and the grill maker’s clearance requirements still apply either way.
Does a covered outdoor kitchen need a permit?
New roofs, gas lines and electrical circuits usually do. We check with the local building department as part of planning so the work is inspected and documented properly.


