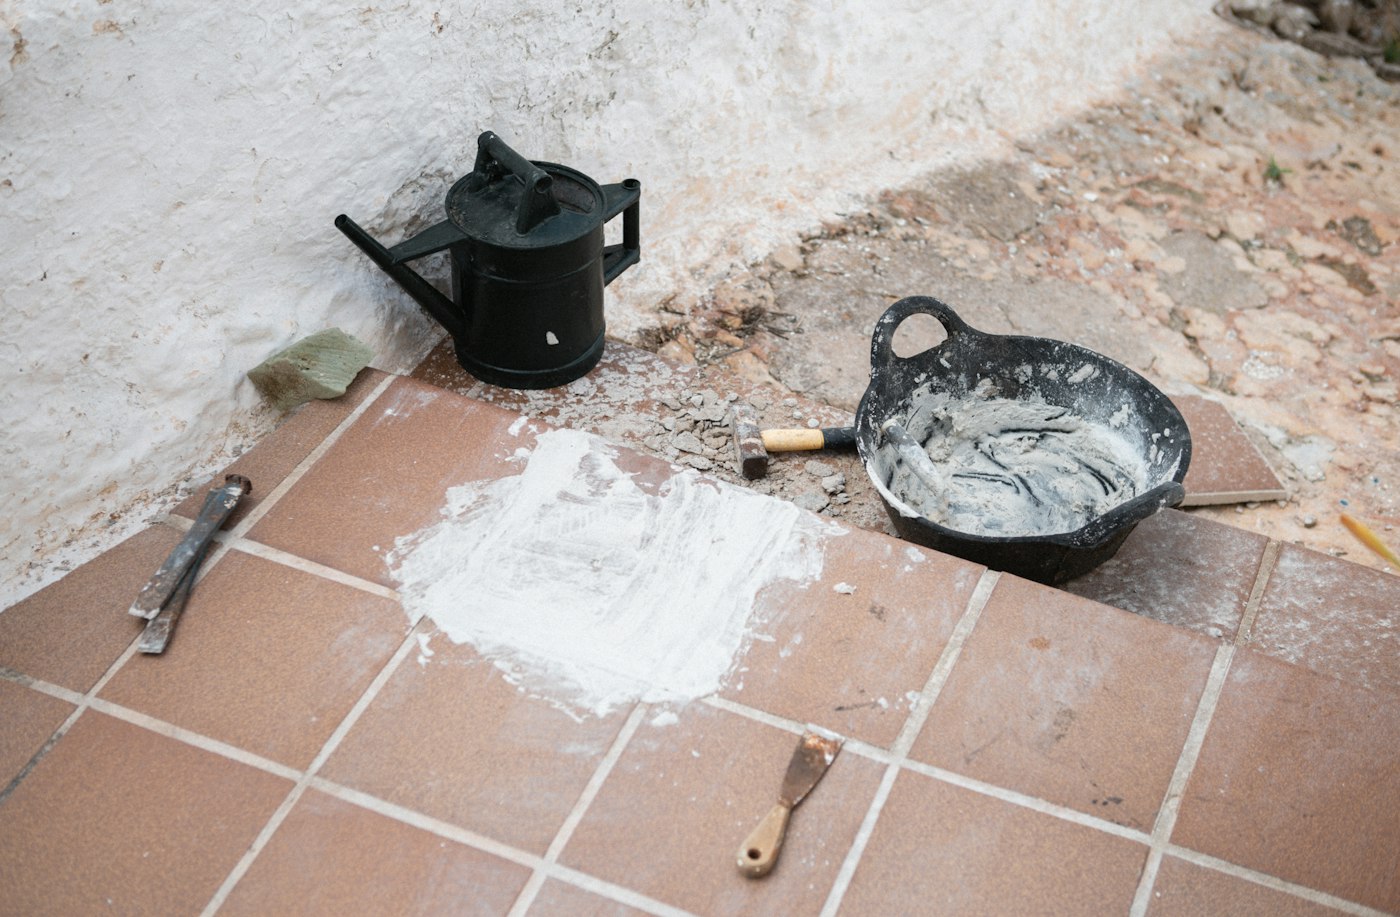
A tile backsplash is one of the most effective ways to transform a kitchen without a full remodel. It protects the wall behind your counters from splashes and grease, it is easy to clean, and it adds color, texture and personality to the room. A well-installed backsplash follows a clear sequence: choose tile, prep the wall, set, grout and seal. Each step builds on the one before it, and getting the early steps right is what makes the finished wall look professional.
Step One: Choose Tile
Tile choice sets the tone for the whole kitchen. Think about style, maintenance and how the tile works with your counters and cabinets.
Popular tile types
- Ceramic. Affordable, durable, easy to clean and available in endless colors and shapes. Classic subway tile is usually ceramic.
- Porcelain. Denser and less porous than ceramic, very durable and low maintenance.
- Glass. Reflects light and adds shine. Requires careful cutting and the right adhesive.
- Natural stone. Marble, travertine and slate bring natural variation and texture. Stone is porous and usually needs sealing.
- Mosaic sheets. Small tiles mounted on mesh backing for intricate patterns and easier installation.
Design choices
- Pattern. Running bond, stacked, herringbone and vertical layouts each create a different look.
- Grout color. Matching grout creates a seamless look; contrasting grout highlights the pattern.
- Coverage. Decide whether the backsplash stops at the bottom of upper cabinets, runs to the ceiling or covers a full wall behind the range.
- Edges. Plan how exposed edges will be finished, with bullnose tile, metal edge trim or another clean transition.
Order extra tile to allow for cuts, breakage and future repairs. Tile from different production runs can vary slightly in color, so buying enough at once helps everything match.
Step Two: Prep the Wall
Preparation is where good backsplashes are made. Tile will show every flaw in the surface beneath it.
- Protect the area. Cover countertops and appliances, and turn off power to outlets in the work area.
- Remove outlet covers and plan for box extenders, since tile adds thickness and outlets need to sit flush with the finished surface.
- Remove the old backsplash if there is one, and repair any damaged drywall.
- Clean the wall. Kitchen walls carry grease. Clean thoroughly so the adhesive bonds.
- Flatten and smooth. Fill holes and sand down high spots. A flat wall is essential for an even tile surface.
- Prime if needed. Follow the adhesive manufacturer’s recommendations for the wall surface.
- Plan the layout. Find the center of the main focal area, often the range or sink, and dry-lay tile on the counter to plan cuts so you avoid thin slivers at corners and ends.
- Set a level line. Countertops are not always perfectly level. Use a level and a ledger board if needed so the rows stay straight.
Step Three: Set the Tile
Use the adhesive recommended for your tile: thinset mortar for most tile, and specific products for glass and stone. Premixed tile adhesive is common for small ceramic backsplash tile in dry areas but is not suitable for every tile.
- Spread adhesive on a small section with the flat side of a notched trowel, then comb it with the notched side in one direction.
- Press tiles into place with a slight twist to ensure full contact.
- Use spacers to keep grout joints consistent.
- Leave a small gap at the countertop and inside corners to allow for movement. These joints are later filled with flexible caulk, not grout.
- Cut tile around outlets, windows and cabinet ends with a tile cutter, wet saw or nippers.
- Check for level and flatness often, and clean excess adhesive from joints and tile faces before it hardens.
- Let the adhesive cure for the time recommended before grouting.
Step Four: Grout
Grout fills the joints, locks the tiles together visually and keeps moisture and debris out.
- Remove spacers.
- Choose the right grout type. Sanded grout is generally used for wider joints and unsanded grout for narrow joints. Glass and some stone tiles have specific grout recommendations.
- Mix grout according to the directions and work it into joints diagonally with a rubber float.
- Remove excess grout by holding the float at a steep angle.
- Wipe the surface with a damp sponge, rinsing often, to shape joints and remove haze.
- Buff off remaining haze once the grout has firmed up.
- Caulk the gap at the countertop and inside corners with a color-matched caulk.
Step Five: Seal
Most cement-based grout is porous. Sealing helps it resist stains from cooking splatters, sauces and grease. Natural stone tile also typically needs sealing.
- Wait until the grout has fully cured according to the product directions before sealing.
- Apply a penetrating sealer to grout lines, and to the tile itself if it is stone.
- Wipe off excess sealer from the tile surface.
- Reseal periodically, as recommended by the sealer manufacturer.
Some grout products, such as certain epoxy and high-performance grouts, do not require sealing. Check the label.
Common Mistakes
- Skipping layout planning and ending up with thin slivers at the edges
- Tiling over greasy or uneven walls
- Grouting the countertop joint instead of caulking it
- Forgetting outlet box extenders
- Letting grout haze dry on the tile surface
- Using the wrong adhesive for glass or stone
What to Do This Week
- Measure your backsplash area and decide how far it will go.
- Collect samples and compare them with your counters and cabinets.
- Choose grout color and edge treatments.
- Check the wall for damage, grease and flatness.
- Plan to choose tile, prep the wall, set, grout and seal, or have it installed for you.
AX Home Pro handles repairs, improvements and maintenance for homeowners. Request an estimate to get started.