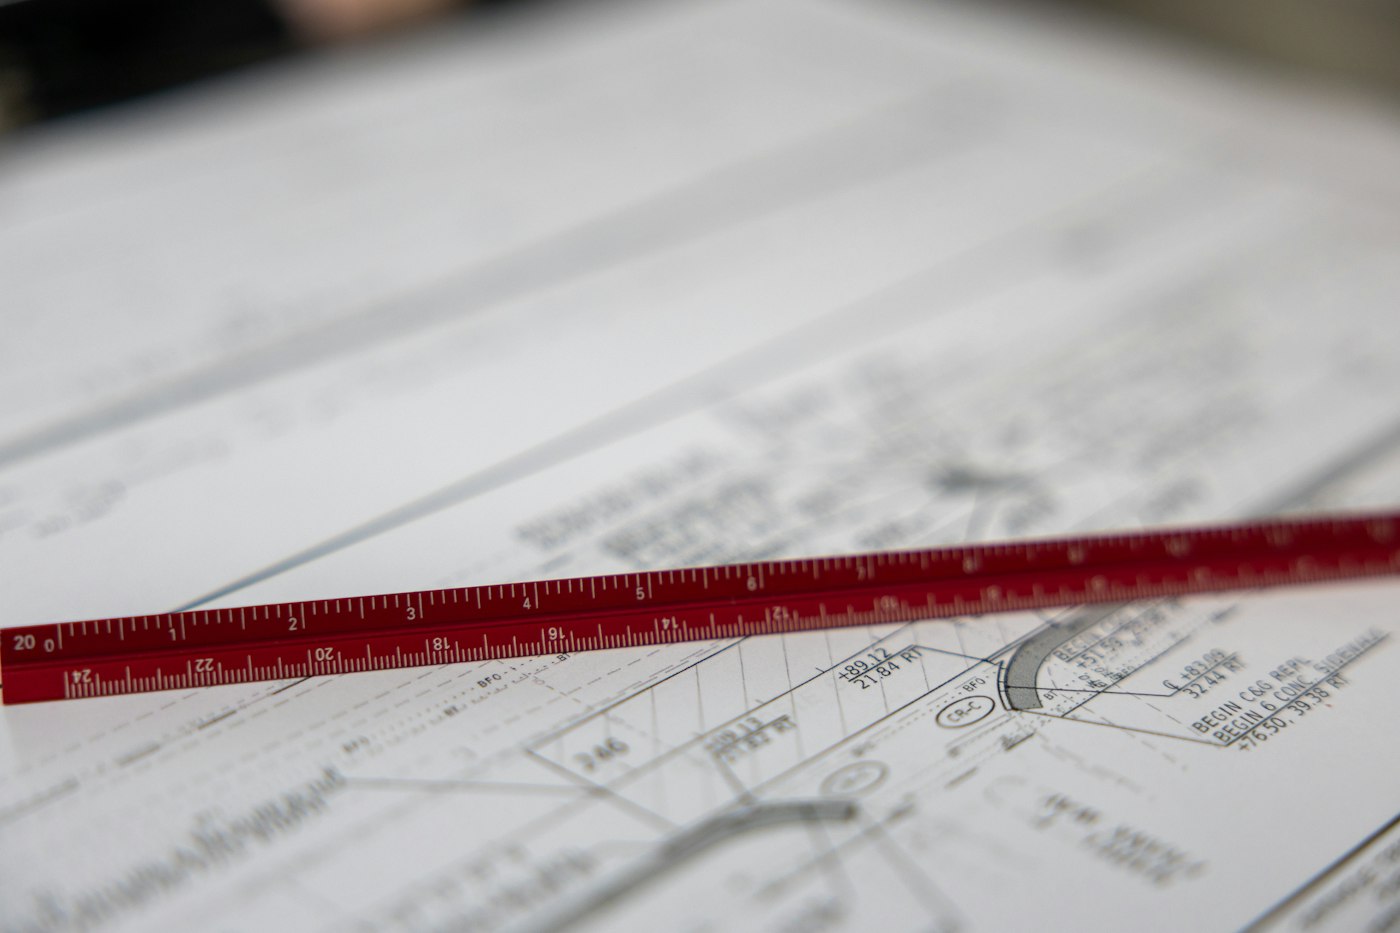
At some point in a remodel, a set of drawings lands in front of you and someone asks you to approve them. Those pages are the contract between your imagination and the finished room. Reading them is not hard once you know what you are looking at, and the homeowners who take the time catch mistakes while they are still erasable.
Floor Plans
A floor plan is a view from above with the roof and ceiling removed. Walls appear as thick parallel lines, doors as a line with an arc showing which way they swing, and windows as thin lines or breaks in the wall. Cabinets, counters, appliances and fixtures are drawn in outline. For a remodel you may see two plans: an existing or demolition plan, where walls to be removed are shown dashed or marked, and a proposed plan showing the new layout. Compare them side by side to understand exactly what changes.
Scale and Dimensions
Drawings are made to scale, with a note telling you how much real-world distance each unit on paper represents. Rather than measuring the paper, rely on dimension strings: the lines with tick marks and numbers running alongside walls. Each string gives distances between points, such as from a corner to a window edge. Overall dimensions appear on an outer string, with details on inner ones. Check that the dimensions add up and that they match the measurements of your actual room. Ceiling heights and counter heights usually appear in notes or on elevations rather than on the plan.
Elevations and Sections
An elevation is a straight-on view of a wall, as if you were standing in the room facing it. Kitchen and bath elevations show cabinet doors and drawers, appliance openings, backsplash height, the placement of sconces and mirrors and the heights of shelves and hooks. This is where you confirm that a cabinet above the refrigerator is deep enough, that the microwave is at a reachable height and that the window trim does not collide with the counter. A section is a slice through the room showing how things stack from floor to ceiling, used for details like a shower bench or a soffit.
Symbols, Schedules and Notes
- Electrical: small circles with letters or lines for outlets, switches and fixtures, with dashed lines connecting switches to the lights they control.
- Plumbing: outlines of sinks, toilets and tubs, sometimes with symbols for supply and drain locations.
- Appliances: labeled rectangles, often with letters keyed to a schedule listing the model.
- Materials: hatching patterns for tile, wood or stone on sections and elevations.
- Notes with numbers or letters in circles that refer to a list of details elsewhere in the set.
Many sets include schedules, which are tables listing every door, window, fixture or finish by a key letter. If the plan shows a door labeled A, the schedule tells you its size, swing and material. Finish schedules list which tile goes on which wall and which paint color goes in which room. Read these as carefully as the drawings; a wrong entry here becomes a wrong product on site.
How to Review a Set
Walk through the drawings as if you were using the room. Where do you set down groceries? Can the dishwasher door open while someone stands at the sink? Does the shower door hit the toilet? Mark questions directly on a printed copy and go through them with your designer or contractor. Ask about anything that is not drawn, since what is missing from a plan is as important as what is on it. Approving drawings you understand is the single best protection against the sentence no homeowner wants to hear halfway through a project: that is what the plan showed.
A Step-by-Step Drawing Review
When a new set of drawings arrives, a systematic review helps you catch issues without feeling overwhelmed. Here is the approach we suggest.
- Start with the cover sheet or index to understand what pages are included and what each one shows.
- Compare existing and proposed plans to understand every change being made.
- Review dimensions against your own measurements and expectations.
- Study each elevation wall by wall, imagining yourself standing in front of it.
- Check electrical layouts for outlets, switches and lights in the places you need them.
- Read every schedule and note, confirming product names, sizes and finishes.
- Write down your questions and review them with your designer or contractor before approving.
What to Look for in Kitchen and Bath Drawings
Kitchens
- Clearances between the island and perimeter counters
- Appliance door swings and whether they collide with each other or with people
- Landing space beside the refrigerator, range and ovens
- Outlet locations along counters and on the island
- Range hood location and venting path
- Cabinet sizes and the location of filler strips
Bathrooms
- Clearances around the toilet and in front of the vanity
- Shower and door swing directions
- Niche, bench and grab bar locations
- Mirror, sconce and medicine cabinet heights
- Exhaust fan location
- Tile layout and transitions
Common Drawing Review Mistakes
- Approving without reading notes. Notes often contain details about materials, methods and exclusions.
- Assuming items not shown are included. If you expect something and do not see it, ask.
- Ignoring the electrical plan. Outlet and switch locations are easy to overlook on paper and frustrating to change later.
- Not visualizing heights. Elevations help you confirm whether cabinets, shelves and fixtures are at comfortable heights.
- Reviewing only on a screen. A printed set makes it easier to mark questions and see details.
Drawing Questions We Hear
What does the arc on a door symbol mean?
The arc shows the path the door travels as it opens. It helps you see how much floor space the door needs and whether it will hit anything.
What should I do if the drawings do not match my expectations?
Raise the issue as soon as possible. Changes are much easier to make on paper than after materials are ordered or work has begun.
Are revisions normal?
Yes. Most projects go through several rounds of revisions as details are clarified. Each revision should be clearly dated or numbered so everyone works from the same version.
How do I keep track of changes between versions?
Many designers mark revisions with clouds or triangles on the drawing and list them in a revision block. Ask for those markings, and keep each approved set rather than discarding older copies.
A Quick Pre-Approval Checklist
- Every room walked through on paper as if you were using it
- Dimensions compared with your own measurements
- Outlets, switches and lights placed where you need them
- Door, drawer and appliance swings checked for conflicts
- Schedules and notes read and questions answered
- The revision date confirmed as the latest version