
Photo: Emmanuel Boldo / Unsplash
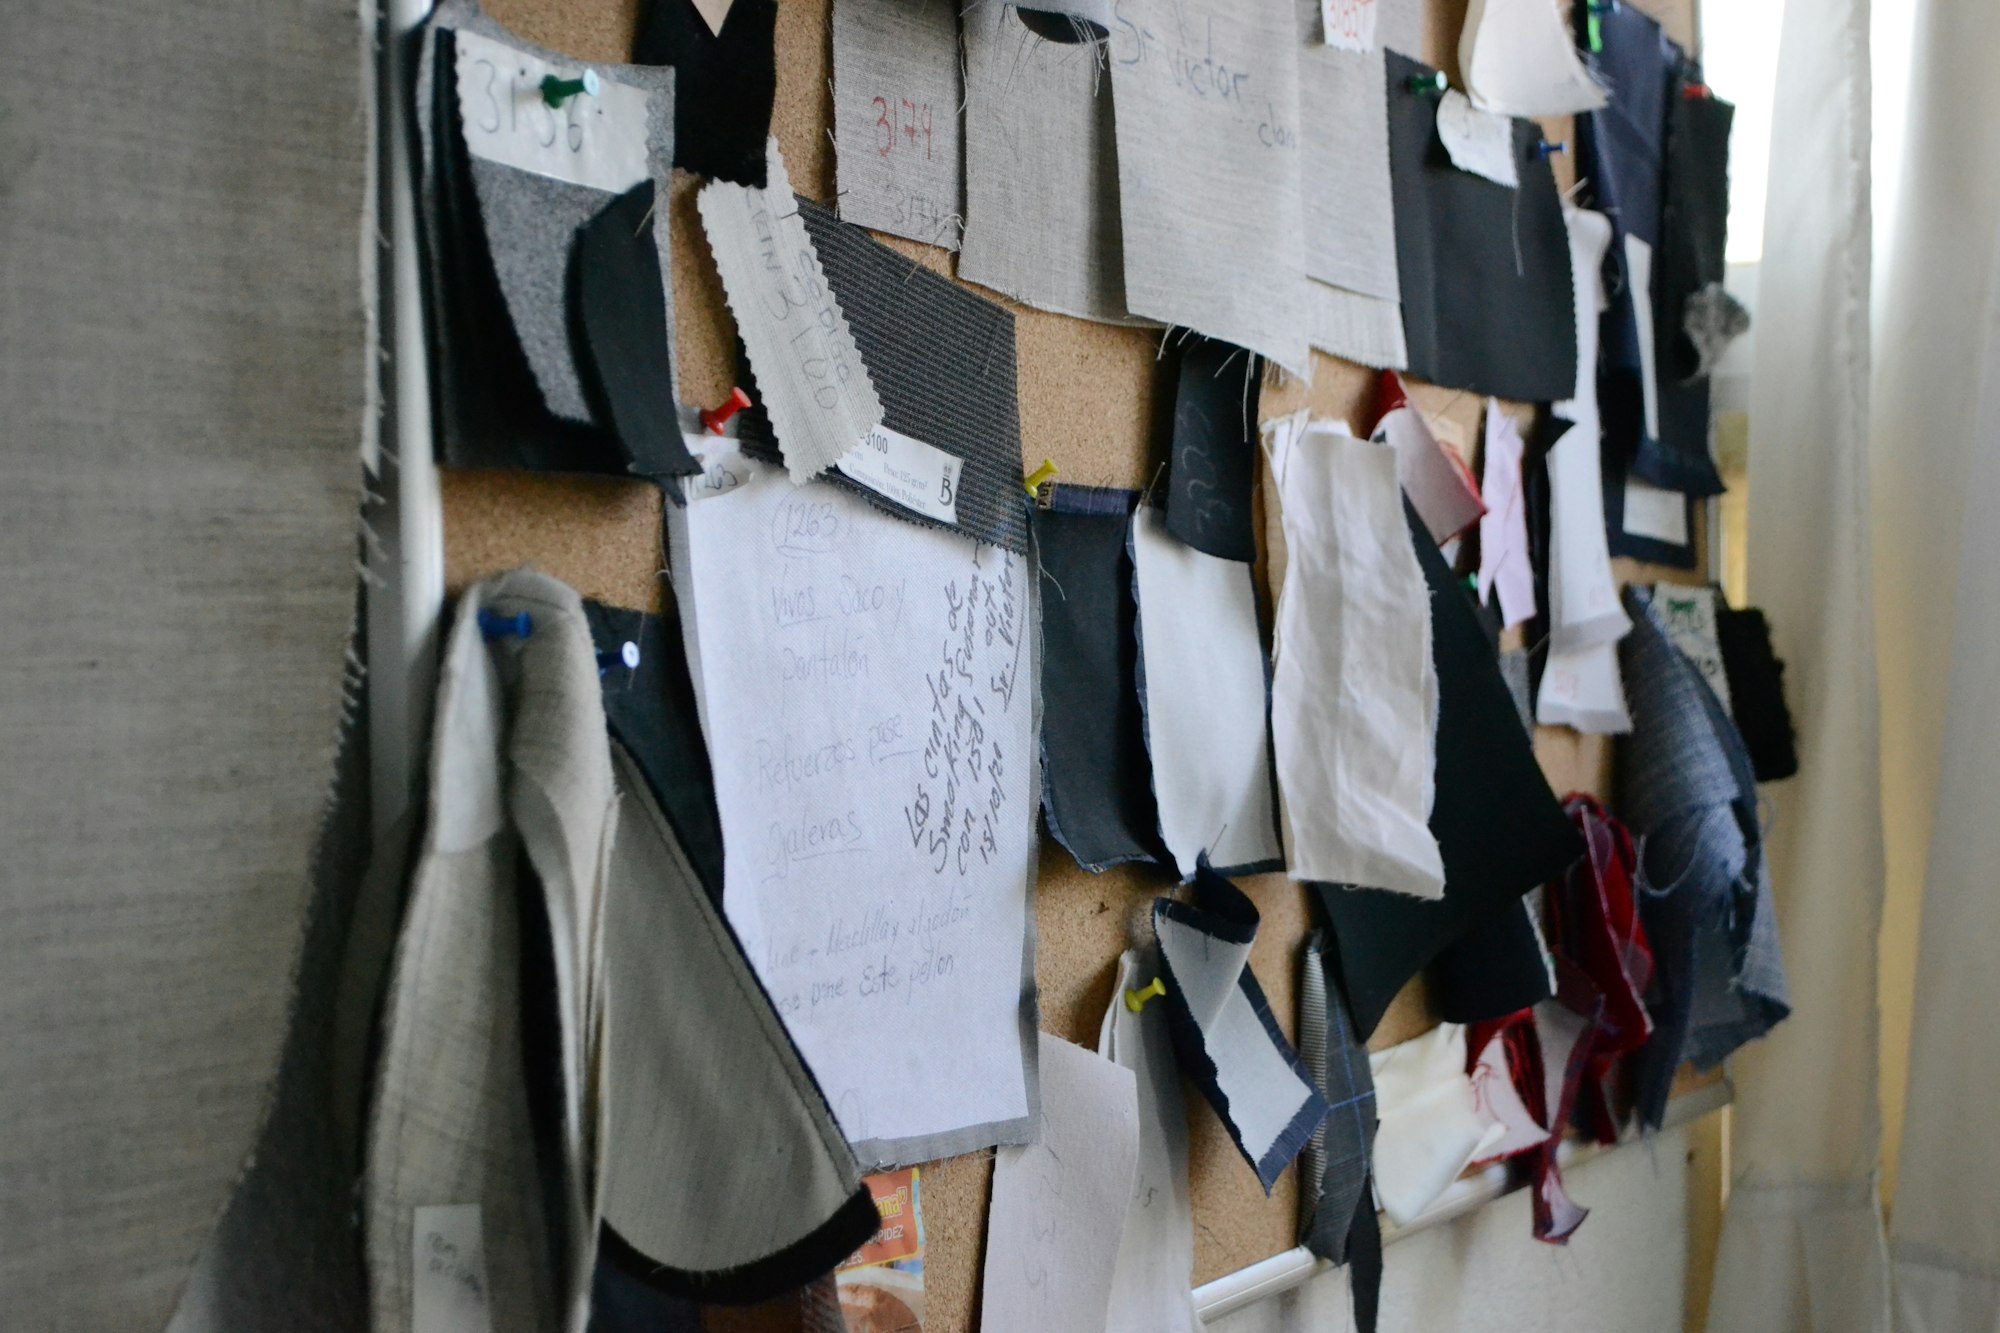
Finish samples are useful because they bring a proposed material into the room where it will be seen. They can also become a confusing pile of boards, cards and loose pieces. Some may be borrowed, some purchased and some provided with different expectations. Before collecting more, a homeowner can create a simple record of what each sample represents and what should happen to it after the decision.
The record should serve the selection process rather than become another complicated project. A short list can identify the product, its source, the room being considered and any agreed return arrangement. The aim is to prevent an attractive sample from becoming separated from the information required to choose, order or return the correct item.
Keep the identity with the sample
Record the manufacturer or supplier information exactly as provided, along with the product name, finish and any useful reference number. A photograph of the label can help, provided it is readable and stored with the room’s selection notes. Avoid relying on a color description remembered after the label has fallen off. Similar-looking samples can represent different products or versions.
Give each sample a temporary place in the home so household members know which materials are still under consideration. Keep rejected options distinguishable from the current shortlist. Otherwise, someone may use an older piece as the reference during a later conversation. The distinction should be visible without depending on the memory of the person who attended the showroom visit.
Record the borrowing arrangement
Ask the source whether a sample needs to be returned, when it is expected back and how it should be handled. Do not assume that every small item is a giveaway or that every larger board can remain indefinitely. If a fee, deposit or other condition applies, keep the actual information with the sample record rather than generalizing from a different supplier’s practice.
Choose one household member to track the return. Several people may use the sample, but a named person should know where it is and whether the comparison is complete. Before passing it to another professional or location, check that doing so fits the arrangement. The purpose is ordinary accountability, especially when samples move between the home, a design meeting and a worksite.
Close the selection and the return separately
Once a finish is chosen, record the exact approved product information in the project’s selection list. Returning a sample should not erase the evidence of what was selected. Keep any photograph or reference the team needs, and ask which physical samples should remain available for comparison during the work. A sample itself is not always the complete ordering specification.
Then complete the return and mark it as finished. If an item was damaged or misplaced, explain the situation to its source rather than quietly substituting another piece. Review the remaining collection after each major decision so rejected materials do not continue to occupy useful space. A clear sample process keeps attention on the room and its choices while giving borrowed materials the follow-through their owners reasonably expect.
Quick check
How much did you catch? Tap a question to see the answer.
1. What information should stay connected to a sample?
Answer: Its product identity, source, intended room and any return arrangement.
2. Why separate rejected samples from the shortlist?
Answer: To prevent an older option from being mistaken for the current reference.
3. Should returning a sample erase the selection record?
Answer: No. The exact approved product information should remain in the project record.
Putting It Into Practice: A Sample Log in Five Steps
A sample record works best when it is set up before the first showroom visit, not after the kitchen table is already covered. On our projects, the households that stay organized usually keep the system plain enough that anyone can update it in a minute or two. Here is one way to set it up.
- Start one list per project, not per room. A single list in the project folder or a shared note keeps every sample visible in one place, even when the same tile is being considered for two bathrooms.
- Give each sample a short tag. A small piece of painter’s tape with a number on the back of a board or card connects the physical piece to its line on the list. Put the tag somewhere it will not show during a comparison or mark the finish.
- Fill in the same few fields every time. Product name and finish as printed, source, date received, room under consideration, status (shortlist, rejected or selected) and the return arrangement in the source’s own words.
- Choose one home for active samples. A shallow box or a clear shelf near the room being planned works well. Rejected pieces go into a separate, clearly marked container until they are returned.
- Update the status after each decision meeting. A two-minute review right after a conversation is far easier than trying to remember later which board was set aside and why.
Where Samples Usually Go Astray
Most sample problems are not dramatic. They come from small, ordinary habits that seem harmless while the project is busy.
- Moving samples around for “just one more look.” A board carried to a different room for a lighting comparison often stays there. Return it to its home after each comparison, or note where it went.
- Comparing under one kind of light. A finish judged only at night or only near one window can look different later. Looking at the sample in the actual room at a few times of day is part of using it well, but the record should note which piece was viewed, not just how it looked.
- Letting the label become the only record. Stickers peel and cards get trimmed. The photograph and the written entry should carry the identity, so a lost label does not mean a lost product.
- Mixing personal purchases with borrowed pieces. A tile bought outright and one on loan can look identical in a pile. Mark the status clearly so the wrong one is not returned or thrown away.
- Waiting until the end of the project to return everything. Return windows and handling expectations can come and go while the work continues. Returning pieces as each decision closes keeps the collection small and the commitments current.
A quick end-of-week checklist
- Does every sample in the house have a matching line on the list?
- Is each one marked shortlist, rejected or selected?
- Are any return arrangements coming due soon?
- Is the approved product information for every closed decision written in the selection list?
- Has anything been handed to someone else, and is that noted?
Questions Readers Ask
What if we cannot remember where a sample came from?
Check photographs, receipts or messages from the period when it arrived, and ask the people who visited showrooms. If the source still cannot be identified, set the piece aside, note that its origin is unknown and ask the project team before treating it as either a giveaway or a selection reference.
Should we keep the selected sample until the work is finished?
Often it is useful to keep it for comparison when materials arrive, but that depends on the arrangement with its source. Ask before assuming it can stay, and if it must go back, make sure the approved product details and a clear photograph are saved first.
Is a phone photo enough on its own?
A photo is a helpful backup, especially of the label, but color in a photo can shift with lighting and screens. Pair it with the written product name and finish so the record does not depend on how an image looks on a particular device.
Who should hold the list when several people are involved?
One household member should own it, even if others add entries. That person becomes the go-to contact for the project team when a question comes up about which sample is current or what still needs to be returned.


Leave a Reply